Translator’s note: This is the 8th article of the series “Cloud Foundry 100-day Challenge selection”. “#024” in the title means that it is 24th (published on July 7, 2015) in the original Japanese series.
Original Author: Noburou TANIGUCHI (GitHub) (BitBucket)
The 24th topic of “Cloud Foundry 100-Day Challenge” is SugarCRM, a CRM (Customer Relationship Management) software in PHP.
It is very famous as an open source CRM software, so I’m sure that anyone with an interest in CRM has heard of it. Even I had heard of the name, despite having no experience with CRM.
Basic information
- Official site
http://www.sugarcrm.com/ - Source code
https://github.com/sugarcrm/sugarcrm_dev
Although a zip file of the source code can be downloaded from http://www.sugarcrm.com/download , I retrieved it from GitHub as I wanted to use an SCM (Source Code Management) tool.
Below is a summary of the procedures:
- Retrieving source code
- Pushing to Cloud Foundry environment
- Running Install Wizard
- Checking application behavior (1)
- Avoiding to reset configurations on reboot
- Checking application behavior (2)
Retrieving source code
$ git clone https://github.com/sugarcrm/sugarcrm_dev.git
$ cd sugarcrm_dev
Pushing to Cloud Foundry environment
Three key points to running SugarCRM on Cloud Foundry are:
- Using new PHP Buildpack (v3.0.4 or later)
- Adding PHP extension module
- Adding Apache module
Details are below.
- Using new PHP Buildpack (v3.0.4 or later)
The default PHP buildack included in the v194 environment (used in this post) is v1.0.2, but the PHP buildpack for Cloud Foundry was renewed at v3.0.4 with a significant change in architecture. In order to use the function to add PHP extension modules and Apache modules as described below, we will specify a URL for a new buildpack found on GitHub for this article.
It should be noted that the v3.0.4 PHP buildpack is included by default in cf-release v201, so we do not need to worry about the above point when using the newest version of Cloud Foundry. - Adding PHP extension module
With the PHP buildpack used in this post, PHP extension modules can be added using the.bp-config/options.jsonfile. I have referred to http://www.sugaruser.jp/Documentation/installation_and_upgrade_guide#PHP , etc. for extension modules necessary for SugarCRM. - Adding Apache module
With the PHP buildpack used in this post, Apache settings can be customized by puttinghttpd-*.confunder.bp-config/httpd/extra/. Themod_aliasnecessary for SugarCRM was not included by default, so we activatedmod_aliasusing.bp-config/httpd/extra/httpd-modules.conf.
Keeping the above in mind, let’s take a look at the steps for running SugarCRM on Cloud Foundry.
Adding PHP extension module
We create a .bp-config directory in the application’s top directory, and place the below options.json files.
$ mkdir .bp-config
$ emacs .bp-config/options.json
..
$ git diff -- .bp-config/options.json
diff --git a/.bp-config/options.json b/.bp-config/options.json
new file mode 100644
index 0000000..7384d69
--- /dev/null
+++ b/.bp-config/options.json
@@ -0,0 +1,3 @@
+{
+    "PHP_EXTENSIONS": ["mbstring", "zip", "mysql", "mysqli", "gd", "openssl", "bz2", "zlib", "curl", "mcrypt"]
+}
Adding Apache module
Referencing http://docs.cloudfoundry.org/buildpacks/php/gsg-php-config.html#engine-configurations , let’s place this file in .bp-config/httpd/extra/httpd-modules.conf, and make the following changes.
$ mkdir -p .bp-config/httpd/extra/
$ cp ../php-buildpack/defaults/config/httpd/2.4.x/extra/httpd-modules.conf
$ emacs .bp-config/httpd/extra/httpd-modules.conf
..
$ git diff -- .bp-config/httpd/extra/httpd-modules.conf
diff --git a/.bp-config/httpd/extra/httpd-modules.conf b/.bp-config/httpd/extra/httpd-modules.conf
index 76f2c4c..1590421 100644
--- a/.bp-config/httpd/extra/httpd-modules.conf
+++ b/.bp-config/httpd/extra/httpd-modules.conf
@@ -111,4 +111,4 @@ LoadModule rewrite_module modules/mod_rewrite.so
 #LoadModule actions_module modules/mod_actions.so
 #LoadModule speling_module modules/mod_speling.so
 #LoadModule userdir_module modules/mod_userdir.so
-#LoadModule alias_module modules/mod_alias.so
+LoadModule alias_module modules/mod_alias.so
All we need to do here is to remove the comment-out in the mod_alias line.
Pushing application
$ cf push sugar -b https://github.com/cloudfoundry/php-buildpack.git --no-start
We specify the options to use the PHP buildpack on GitHub, and push the application. Because we will create a MySQL service and bind to it later, please add a --no-start so that the application does not start running at this point.
Creating and binding to MySQL service
It seems standard to use MySQL as the database for SugarCRM. Therefore, we create a MySQL service, and bind it to the SugarCRM application.
$ cf create-service p-mysql 100mb-dev my4sugar
Creating service instance my4sugar in org nota-ja / space 100 as nota-ja...
OK
$ cf bind-service sugar my4sugar
Binding service my4sugar to app sugar in org nota-ja / space 100 as nota-ja...
OK
TIP: Use 'cf restage sugar' to ensure your env variable changes take effect
Starting application
Now that we are ready, let’s go ahead to start the application.
$ cf start sugar
..
requested state: started
instances: 1/1
usage: 256M x 1 instances
urls: sugar.10.244.0.34.xip.io
last uploaded: Thu Jun 18 02:04:17 +0000 2015
stack: lucid64

     state     since                    cpu    memory          disk      details
#0   running   2015-06-18 11:05:41 AM   0.0%   44.7M of 256M   0 of 1G
.. and the start up is successful.
Running install wizard
With SugarCRM, when you first start the application, Install Wizard will run in order to specify settings for database connectivity, etc.
This article is focused on running SugarCRM on Cloud Foundry, and is not aimed at explaining SugarCRM itself, so we will focus on some key screens instead of explaining all processes in detail.
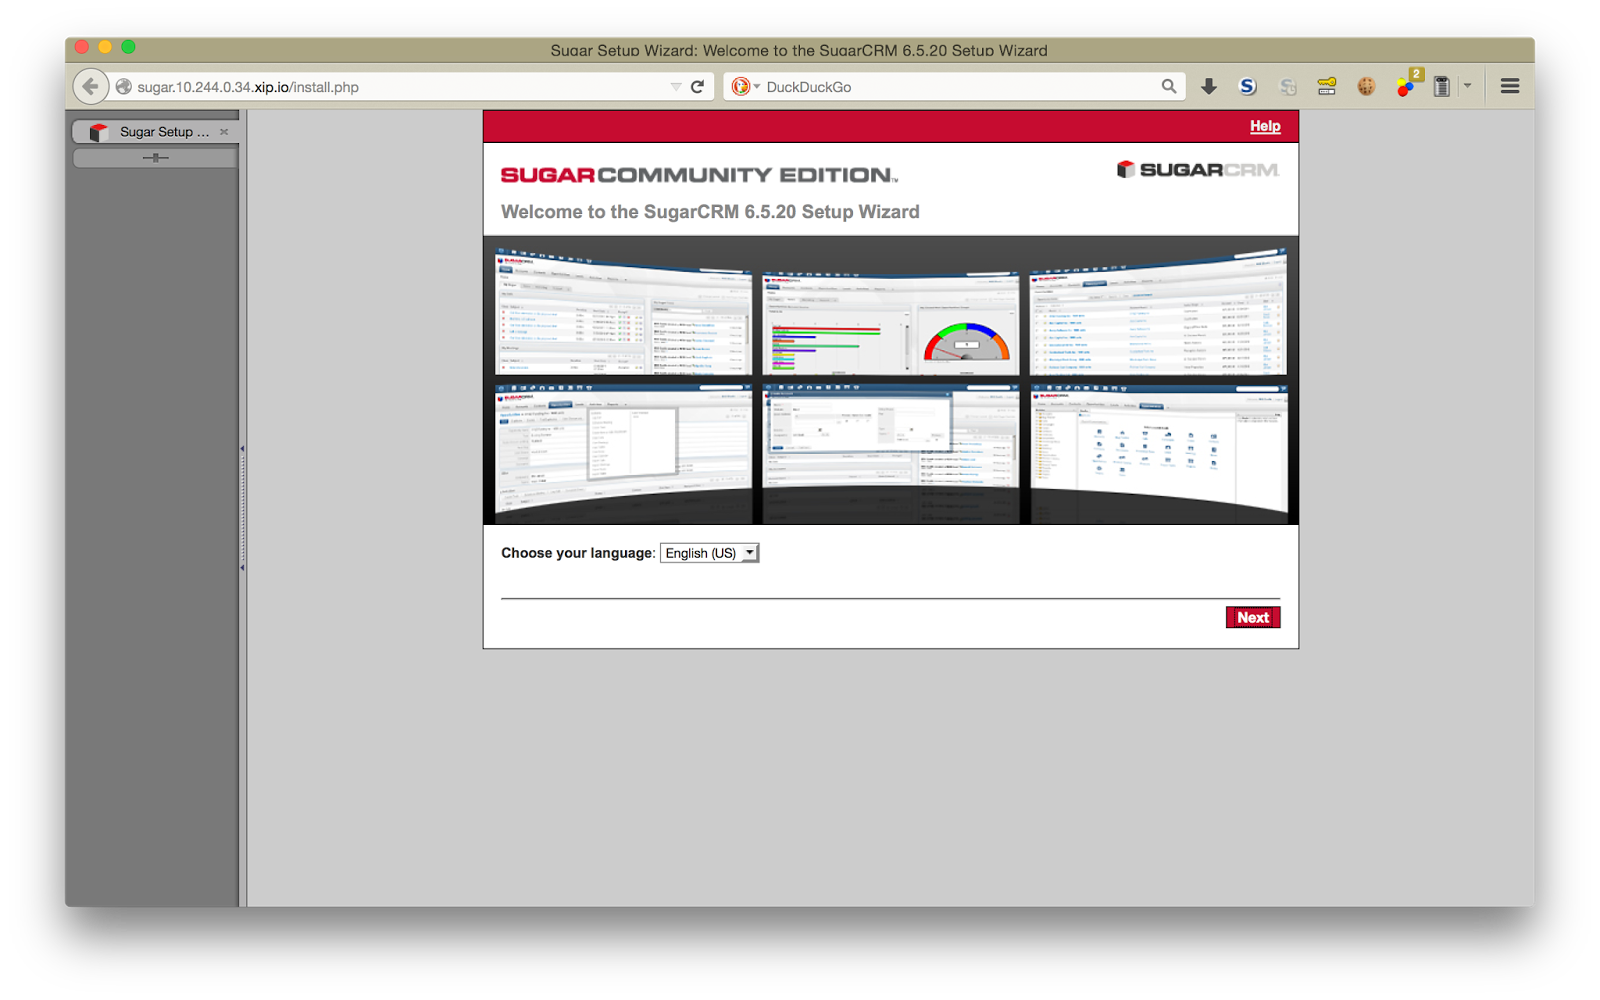
Initial screen
The initial screen after starting up will look like this:
License agreement screen
For some reason the license does not come up, but the content can be confirmed here , so let’s go ahead and check off [I Accept], and click [Next].
If you encounter an error here, there is a possibility that you are lacking one or more essential PHP extension modules.
Selecting type of install
Select [Typical Install], and click [Next]
Selecting database
No choice other than MySQL.
Entering database connection information
On this screen, we will enter data based on the connection information for the MySQL service bound earlier.
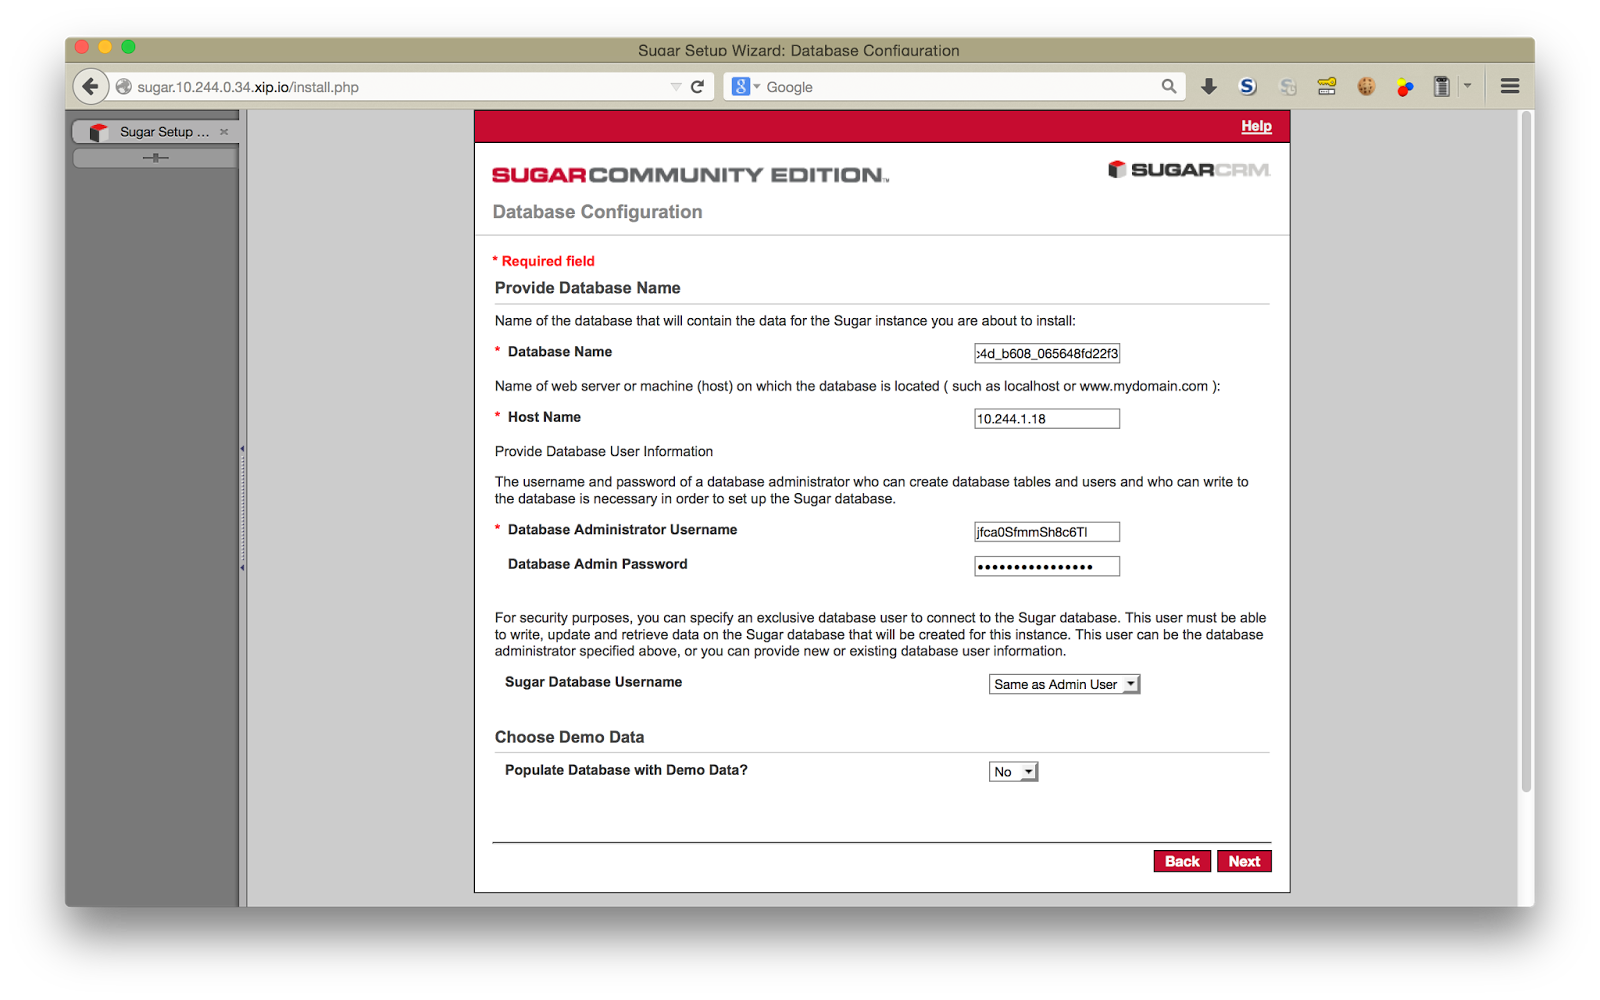
The connection information for the MySQL service can be found within VCAP_SERVICES that is displayed through cf env <application name> :
$ cf env sugar
..
"VCAP_SERVICES": {
 "p-mysql": [
  {
   "credentials": {
    "hostname": "10.244.1.18",
    "jdbcUrl": "jdbc:mysql://10.244.1.18:3306/cf_9c38e266_aad4_4c4d_b608_065648fd22f3?user=jfca0SfmmSh8c6TI\u0026password=UWE5ae2yK6znh0VN",
    "name": "cf_9c38e266_aad4_4c4d_b608_065648fd22f3",
    "password": "UWE5ae2yK6znh0VN",
    "port": 3306,
    "uri": "mysql://jfca0SfmmSh8c6TI:[email protected]:3306/cf_9c38e266_aad4_4c4d_b608_065648fd22f3?reconnect=true",
    "username": "jfca0SfmmSh8c6TI"
   },
   "label": "p-mysql",
   "name": "my4sugar",
   "plan": "100mb-dev",
   "tags": [
    "mysql"
   ]
  }
 ]
}
..
After clicking [Next] upon entering the necessary information, we see a dialogue asking whether we want to initialize the content of an existing database, so we go ahead and click [I Accept]. It seems that a new database is created if the specified database does not exist, but with MySQL for Cloud Foundry it is always handed over to the application after a database has already been created, so the flow will always look like the example above.
Performing setup screen
When we click [Install] and proceed, we get a screen confirming the completion of setup:
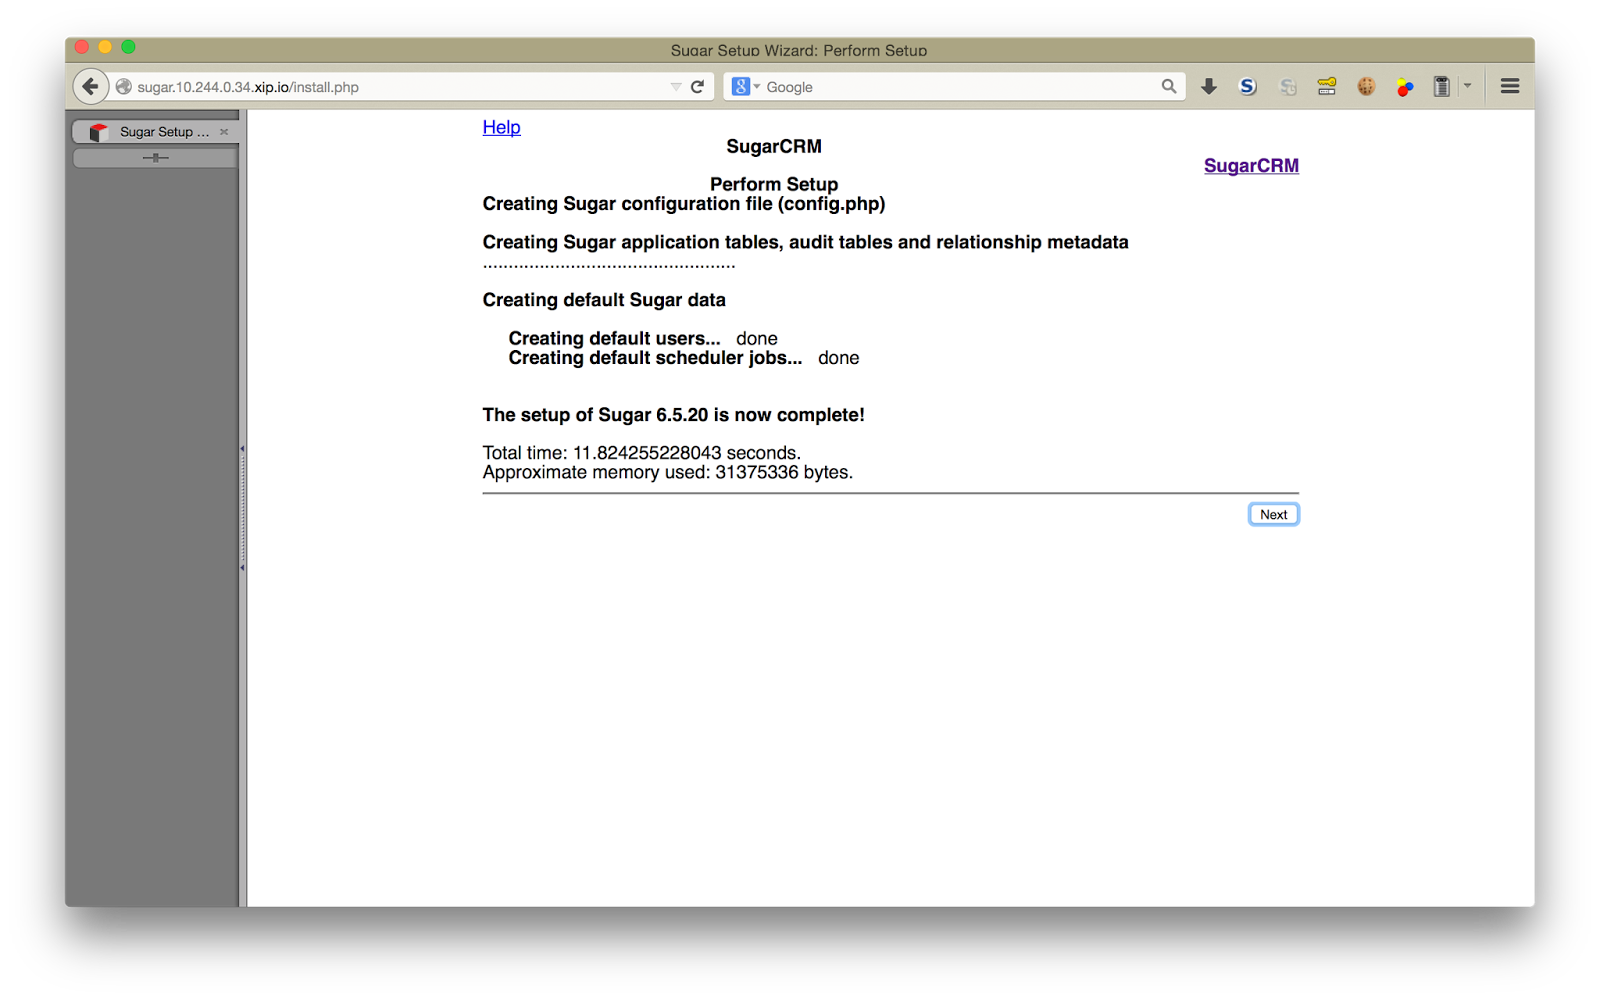
If you click [Next] and receive an error message, there may be something wrong with the settings for the Apache module.
Product registration (optional) screen
As it is optional, we will proceed without entering anything. And finally, we get to our first log in screen.
Checking application behavior (1)
We will proceed by logging in and checking the application.
It seems that, in SugarCRM, we need to go through Admin Wizard and User Wizard when we log in as an administrator or user for the first time.
First log in screen
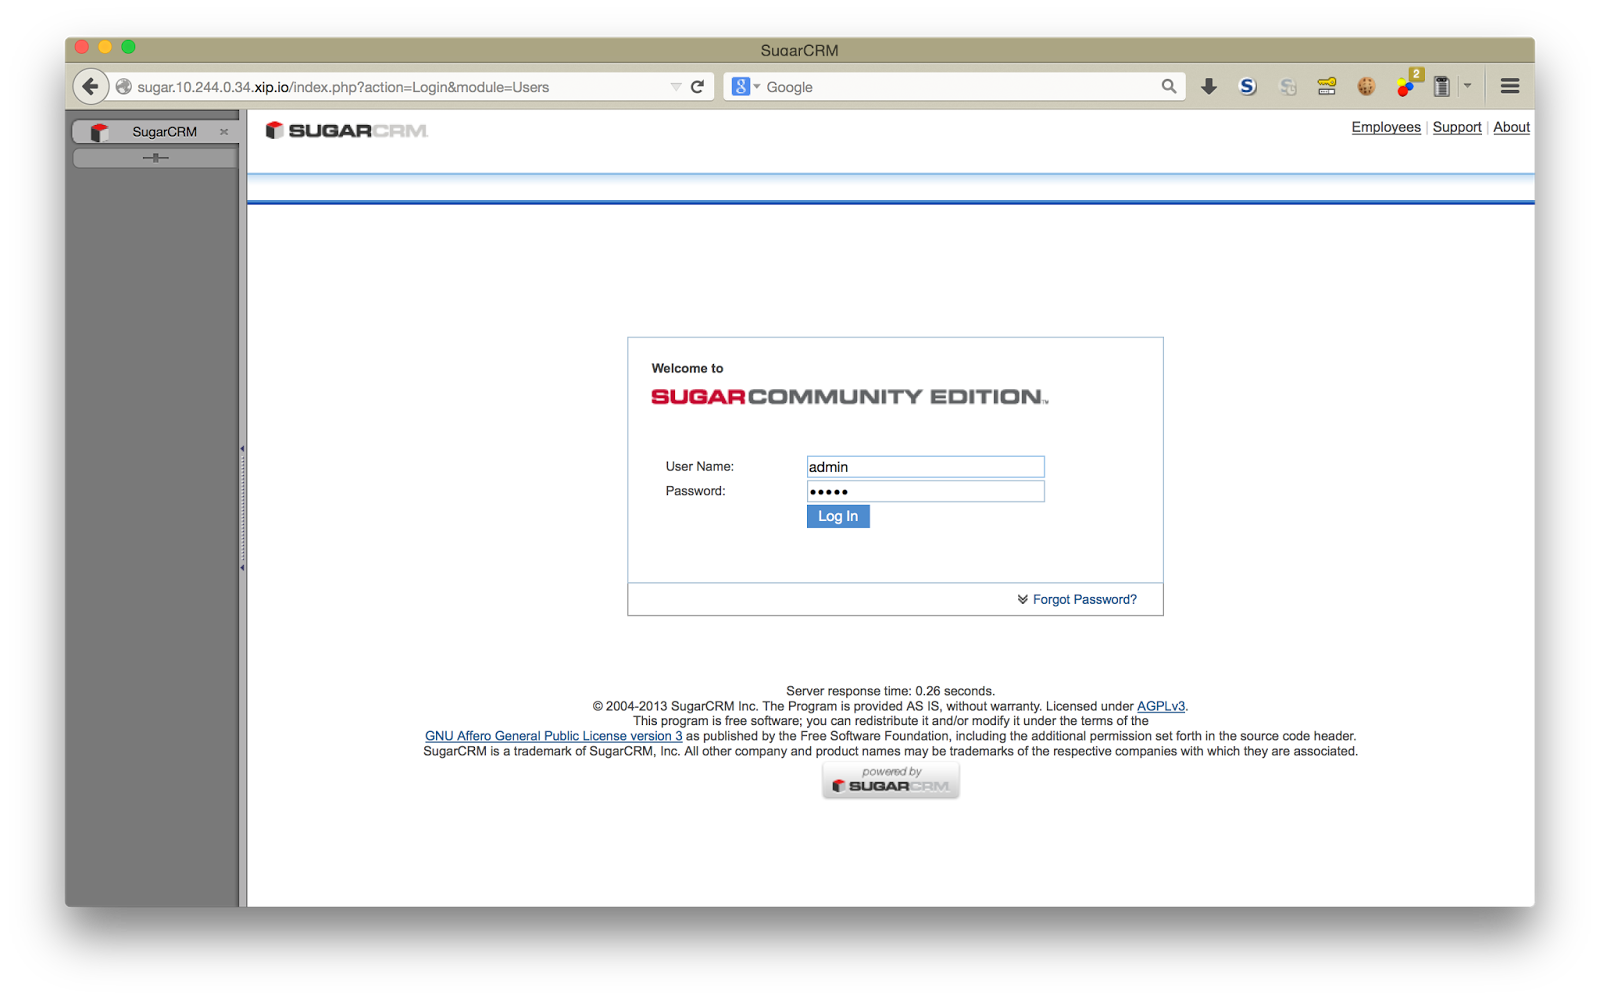
Let’s enter the username/password used earlier in the section Setting the password for the initial administrator.
Admin Wizard screen
We will [Skip] to make things easy.
Final screen of user wizard
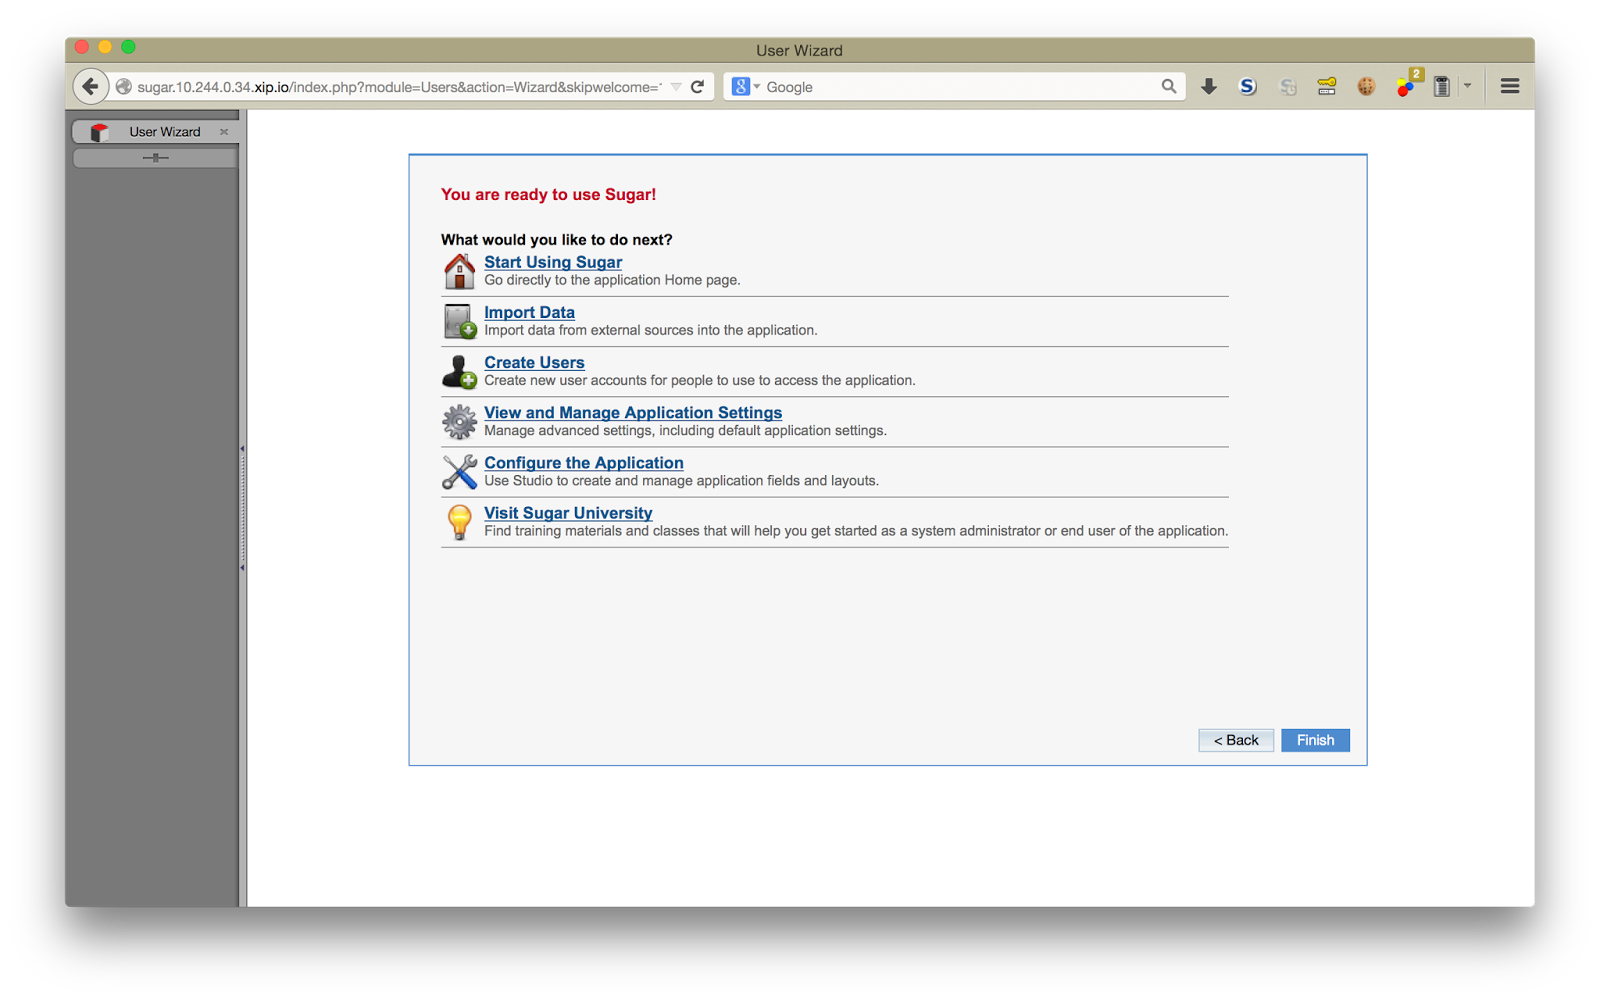
After all of this, we finally get to the screen where we can begin using the software.
Top screen after log in
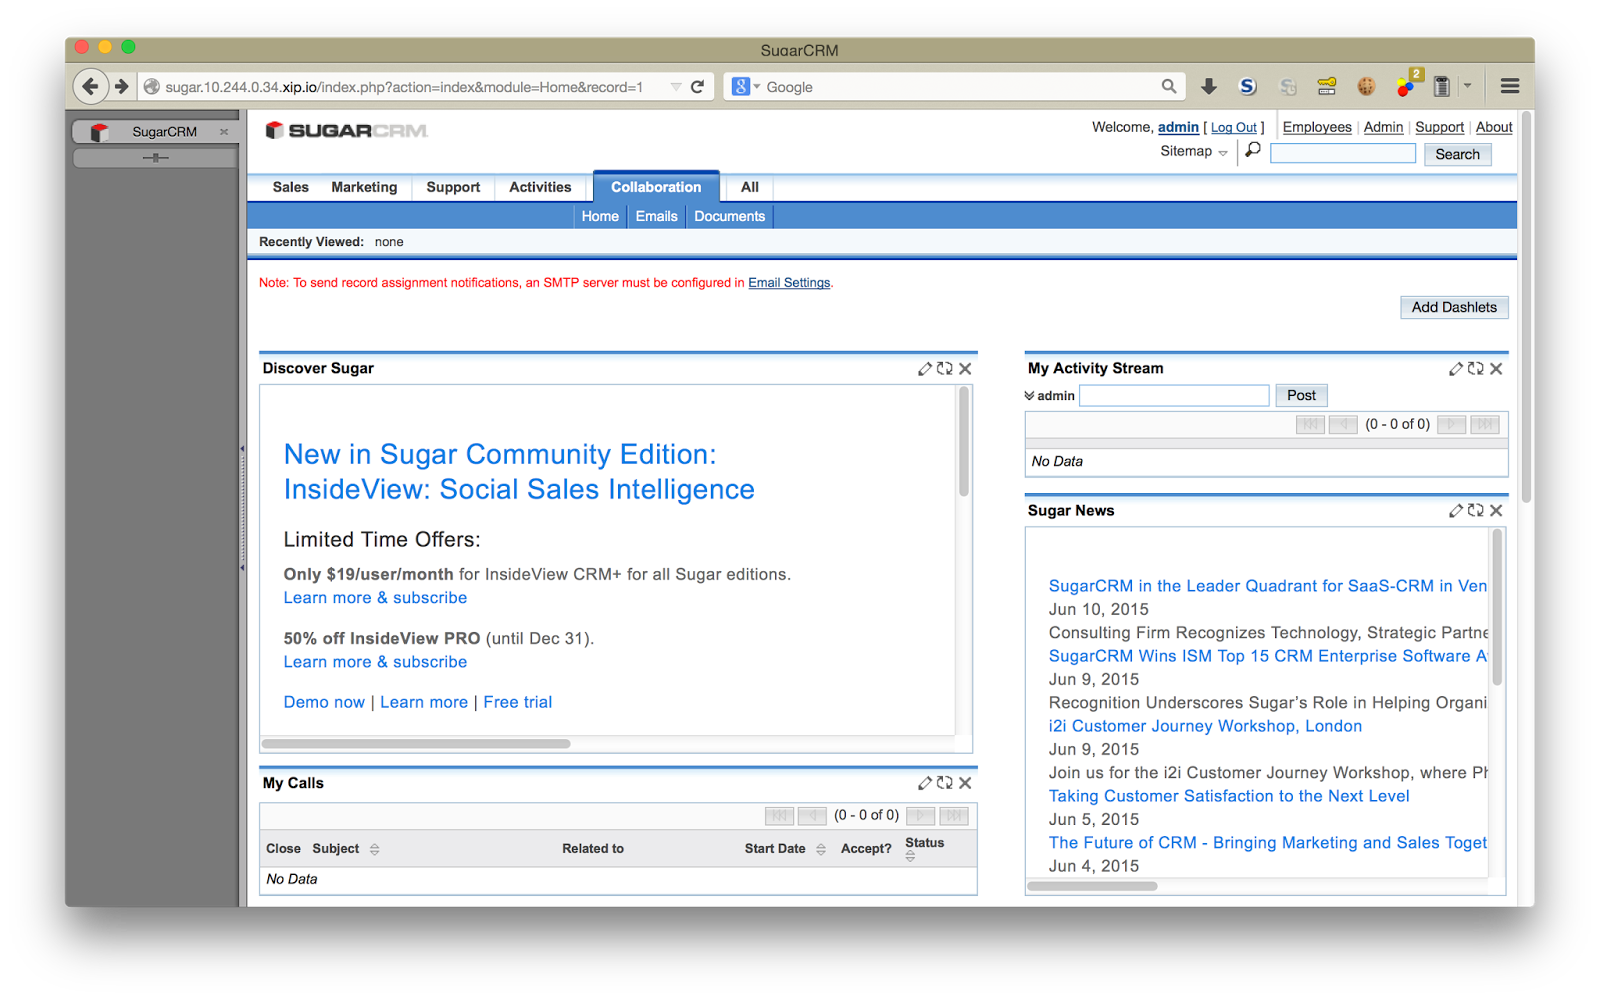
The caution highlighted in red on the top appears because a SMTP server is not specified. we can ignore it, as we don’t intend to send any mail in this article.
I tried other things such as creating a general user (and specified an SMTP server as I needed to send mail) and logging in as this general user, but I will not go into details.
Avoiding to reset configurations on reboot
Usually we can conclude here, but we will take things a step further this time.
SugarCRM stores information specified with Install Wizard or User Wizard in local files, so rebooting this application will force us to do everything over from the setup. Therefore, for practical purposes, it cannot be used on a continuous basis.
Therefore, in this article, we will try to maintain configurations even after rebooting, by obtaining and saving the files that contain the information generated through the aforementioned Wizards and re-pushing them along with the code.
The top directory of the repository of the application, in the PHP buildpack we used today, is loaded into a directory called app/htdocs/. We compared these two directories, and identified which files have been added:
- .htaccess
- config.php
- config_override.php
- install.log
Of these, I decided that the log file was unnecessary, and proceeded to take the other three files and move them from the Cloud Foundry environment to the local environment:
$ cf files sugar app/htdocs/.htaccess
..
$ cf files sugar app/htdocs/config.php
..
$ cf files sugar app/htdocs/config_override.php
..
The content of the file will be displayed onto the terminal, so let’s copy and save it under the same name.
$ ls -1a
..
.htaccess
..
config.php
config_override.php
..
Having done that, we maintain this state and push the application again.
$ cf push sugar
Updating app sugar in org nota-ja / space 100 as nota-ja...
OK
..
requested state: started
instances: 1/1
usage: 256M x 1 instances
urls: sugar.10.244.0.34.xip.io
last uploaded: Tue Jun 23 04:22:19 +0000 2015
stack: lucid64

     state     since                    cpu    memory          disk      details
#0   running   2015-06-23 01:23:44 PM   0.0%   44.5M of 256M   0 of 1G
We see that is is running without any problems.
Checking application behavior (2)
The screen just after reboot
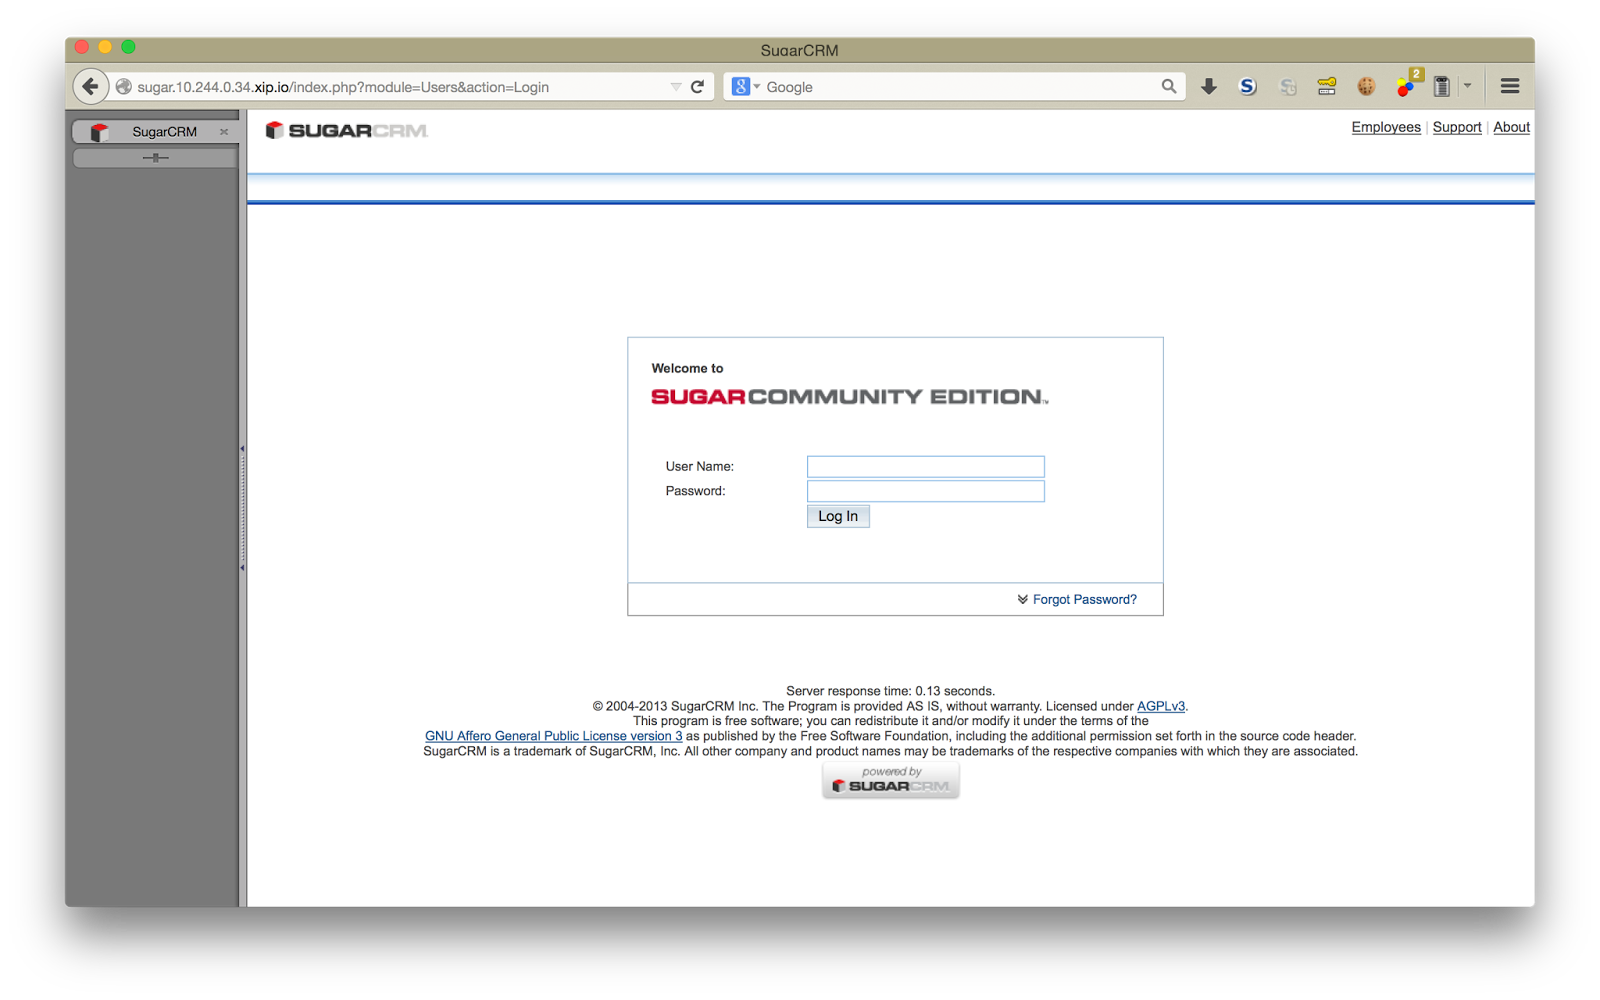
We have arrived at the log in screen without having to go through the Install Wizard / User Wizard.
The screen just after log in
Let’s try to log in as the administrator user which we have specified prior to the reboot,
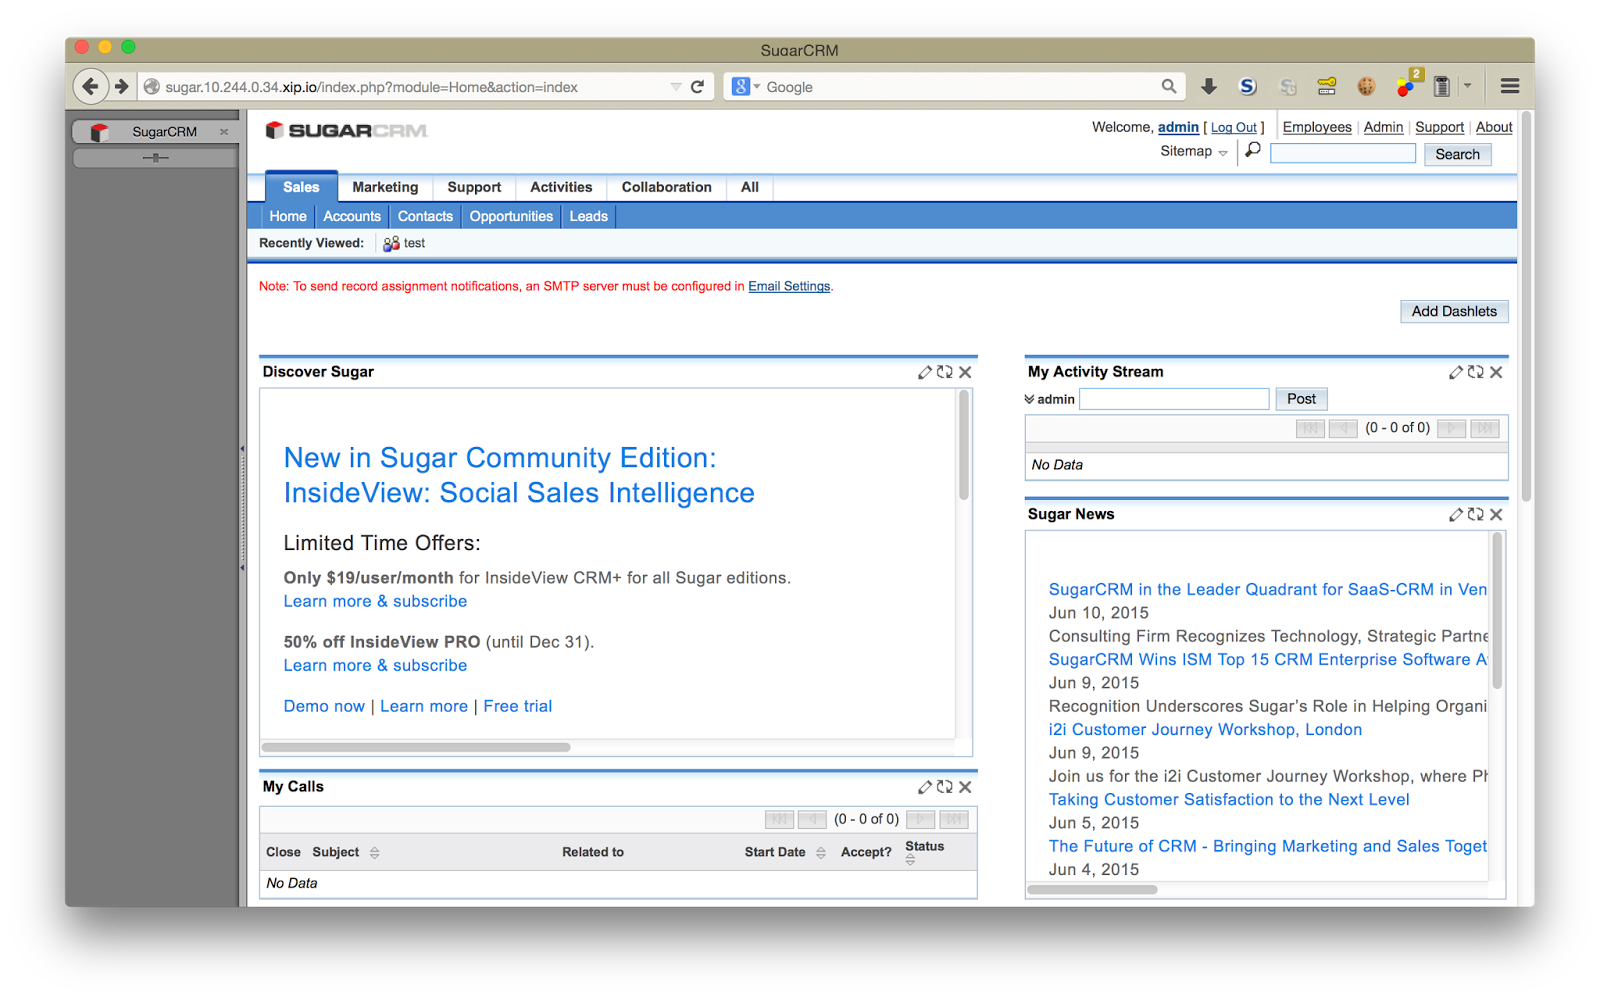
.. and the log-in was just fine, and we are able to proceed from where we left off.
Software used in this post
- cf-release (v194)
https://github.com/cloudfoundry/cf-release/tree/v194
( https://github.com/cloudfoundry/cf-release/tree/345a8b3e1ea0005a3e9fced13f0bf6fa6f7ad981 ) - bosh-lite
https://github.com/cloudfoundry/bosh-lite/tree/01db9da7b4122f7d02858d92e0fe938e91256649 - CF CLI (v6.11.3-cebadc9-2015-05-20T19:00:58+00:00)
https://github.com/cloudfoundry/cli/releases/tag/v6.11.3 - php-buildpack
https://github.com/cloudfoundry/php-buildpack/tree/6c5d638e7800938e8b086900548cb36a81c752b0 - cf-mysql-release (v16)
https://github.com/cloudfoundry/cf-mysql-release/tree/v16
( https://github.com/cloudfoundry/cf-mysql-release/tree/63f0bc3914914ce469c80df07c9fa49c5b836f11 ) - SugarCRM
https://github.com/sugarcrm/sugarcrm_dev/tree/4af22e0e877bf369e61111a6f537f2cdd3a515bd- The code used in this post for the first push
https://github.com/nota-ja/sugarcrm_dev/commit/b269f8ed0c1fc19205bb1c277fcc507121080280
- The code used in this post for the first push
