
This is the second article (and the first actual application) of the “Cloud Foundry 100-day Challenge selection” series.
The 1st application deployed in the “Cloud Foundry 100-day Challenge” is Kandan.
Basic Information
- Source Code
https://github.com/kandanapp/kandan - Other useful reference
http://alternativeto.net/software/kandan/
According to the README file in GitHub, Kandan is “an open-source HipChat clone”. That is to say, it is a modern application for chatting / instant messaging.
Deployment
Now we move on to the main point, the deployment to Cloud Foundry.
Actually, Kandan has a documented deployment procedure for Cloud Foundry. However, it is for Cloud Foundry v1 and cannot be directly applied for v2 without adjustments. So we referred to the above procedure and also the Stand Alone Server launch procedure for the deployment operation below.
Below is the outline of the operation:
- Retrieving source code
- Pushing application without starting
- Creating service
- Binding application and service
- Starting application
Now let’s take a look at each step.
Retrieving source code
Clone the application source code from GitHub.
$ git clone https://github.com/kandanapp/kandan.git
Cloning into 'kandan'...
remote: Counting objects: 7350, done.
remote: Total 7350 (delta 0), reused 0 (delta 0), pack-reused 7350
Receiving objects: 100% (7350/7350), 8.94 MiB | 3.15 MiB/s, done.
Resolving deltas: 100% (2918/2918), done.
Checking connectivity... done.
$ cd kandan/
Now the source code to deploy is ready.
Pushing application without starting
First we register the application to the Cloud Foundry environment and upload it. In the Cloud Foundry context, we often refer to this operation as a “push”.
Usually, in Cloud Foundry, an application is started automatically when pushed. However, as the application of this time requires a database service, we choose not start it at this point. Therefore, there is the option --no-start appended in the command below.
$ cf push kandan --no-start
Creating app kandan in org nota-ja / space 100 as nota-ja...
OK

Creating route kandan.10.244.0.34.xip.io...
OK

Binding kandan.10.244.0.34.xip.io to kandan...
OK

Uploading kandan...
Uploading app files from: /home/nota-ja/workspace/100/kandan
Uploading 6M, 1259 files
Done uploading
OK
It’s OK to finish uploading the application.
Creating service
Next, we will create a database service to be used by this application.
The application uses PostgreSQL as the database. We will use the service broker postgresql-cf-service-broker, provided by the Cloud Foundry community, to create the database service.
Listing the provided services:
$ cf marketplace
Getting services from marketplace in org nota-ja / space 100 as nota-ja...
OK

service      plans                    description
PostgreSQL   Basic PostgreSQL Plan*   PostgreSQL on shared instance.
Create a service:
$ cf create-service PostgreSQL "Basic PostgreSQL Plan" pg4kandan
Creating service instance pg4kandan in org nota-ja / space 100 as nota-ja...
OK
The first parameter is the kind of the service, the second is the service plan, and the third is the name of the service to be created.
Checking the result:
$ cf services
Getting services in org nota-ja / space 100 as nota-ja...
OK

name        service      plan                    bound apps   last operation
pg4kandan   PostgreSQL   Basic PostgreSQL Plan
Verify pg4kandan, whose type is the PostgreSQL, is displayed.
The PostgreSQL service is now ready for use.
Services within Cloud Foundry are “something with unified procedures to start, end, etc., when an application makes use of it”. After an application starts using it, there is no overhead because the application will directly interact with the bound service.
With the PostgreSQL service, one database (a set of tables) is created for every service, as well as a user with authorization to manage the database.
Binding application and service
Next we bind the application and the service. Actually, this is a procedure to pass credentials for accessing the service to the application. In this case, the credentials are the host/port where the PostgreSQL is serving, the name of the database, and the username/password of the authorized user. In the Cloud Foundry context, we call this operation “bind”.
Binding:
$ cf bind-service kandan pg4kandan
Binding service pg4kandan to app kandan in org nota-ja / space 100 as nota-ja...
OK
The first parameter is the name of the application and the second is the name of the service.
Checking the result:
$ cf services
Getting services in org nota-ja / space 100 as nota-ja...
OK

name        service      plan                    bound apps   last operation
pg4kandan   PostgreSQL   Basic PostgreSQL Plan   kandan
When kandan is displayed in the bound apps column of kandan-pg, you are doing fine.
The information actually passed to the application will be found in the environment variables called VCAP_SERVICES.
$ cf env kandan
Getting env variables for app kandan in org nota-ja / space 100 as nota-ja...
OK

System-Provided:
{
 "VCAP_SERVICES": {
  "PostgreSQL": [
   {
    "credentials": {
     "uri": "postgres://username:password@host:port/dbname"
    },
    "label": "PostgreSQL",
    "name": "pg4kandan",
    "plan": "Basic PostgreSQL Plan",
    "tags": [
     "PostgreSQL",
     "Database storage"
    ]
   }
  ]
 }
}
(snip)
Starting application
Now that the application has been prepared to connect to the database, we can start the application that we deactivated at the last cf push. To be more precise, we will push the application again with the start command.
Re-pushing the application:
$ cf push kandan -c 'bundle exec rake db:create db:migrate kandan:bootstrap && bundle exec thin --port $PORT start'
Updating app kandan in org nota-ja / space 100 as nota-ja...
(snip)
requested state: started
instances: 1/1
usage: 256M x 1 instances
urls: kandan.10.244.0.34.xip.io
last uploaded: Mon Jun 1 02:34:28 +0000 2015
stack: lucid64

     state     since                    cpu    memory           disk      details
#0   running   2015-06-01 11:36:28 AM   0.0%   134.3M of 256M   0 of 1G
Make sure that the state of the application is running.
There are two points to pay attention on starting the application (or rather, two points where I was trapped while deploying this application).
- Setting up the database within the startup command
Usually, a startup command is generated by default, so there is no need to specify it. However, we are using the PostgreSQL service, and the newly created PostgreSQL database is empty, with no schema or data in it. Therefore, in order to operate the application properly, we need to “migrate” the database. This time we referred to the README file in the application, and chose to executebundle exec rake db:create db:migrate kandan:bootstrapwithin the startup commands. - Obtaining the port to listen to from the environment variable within the startup command
The default startup command is set to obtain the port to listen to from the environment variableVCAP_APP_PORT(orPORT). However, if a startup command is set manually, the default startup command will be overwritten, so we need to consider the listening port in our startup command. This time we made it to refer$PORTat the last part of the startup command.
Checking of Application Behavior
Now the application is running. So we will access the application with a browser.
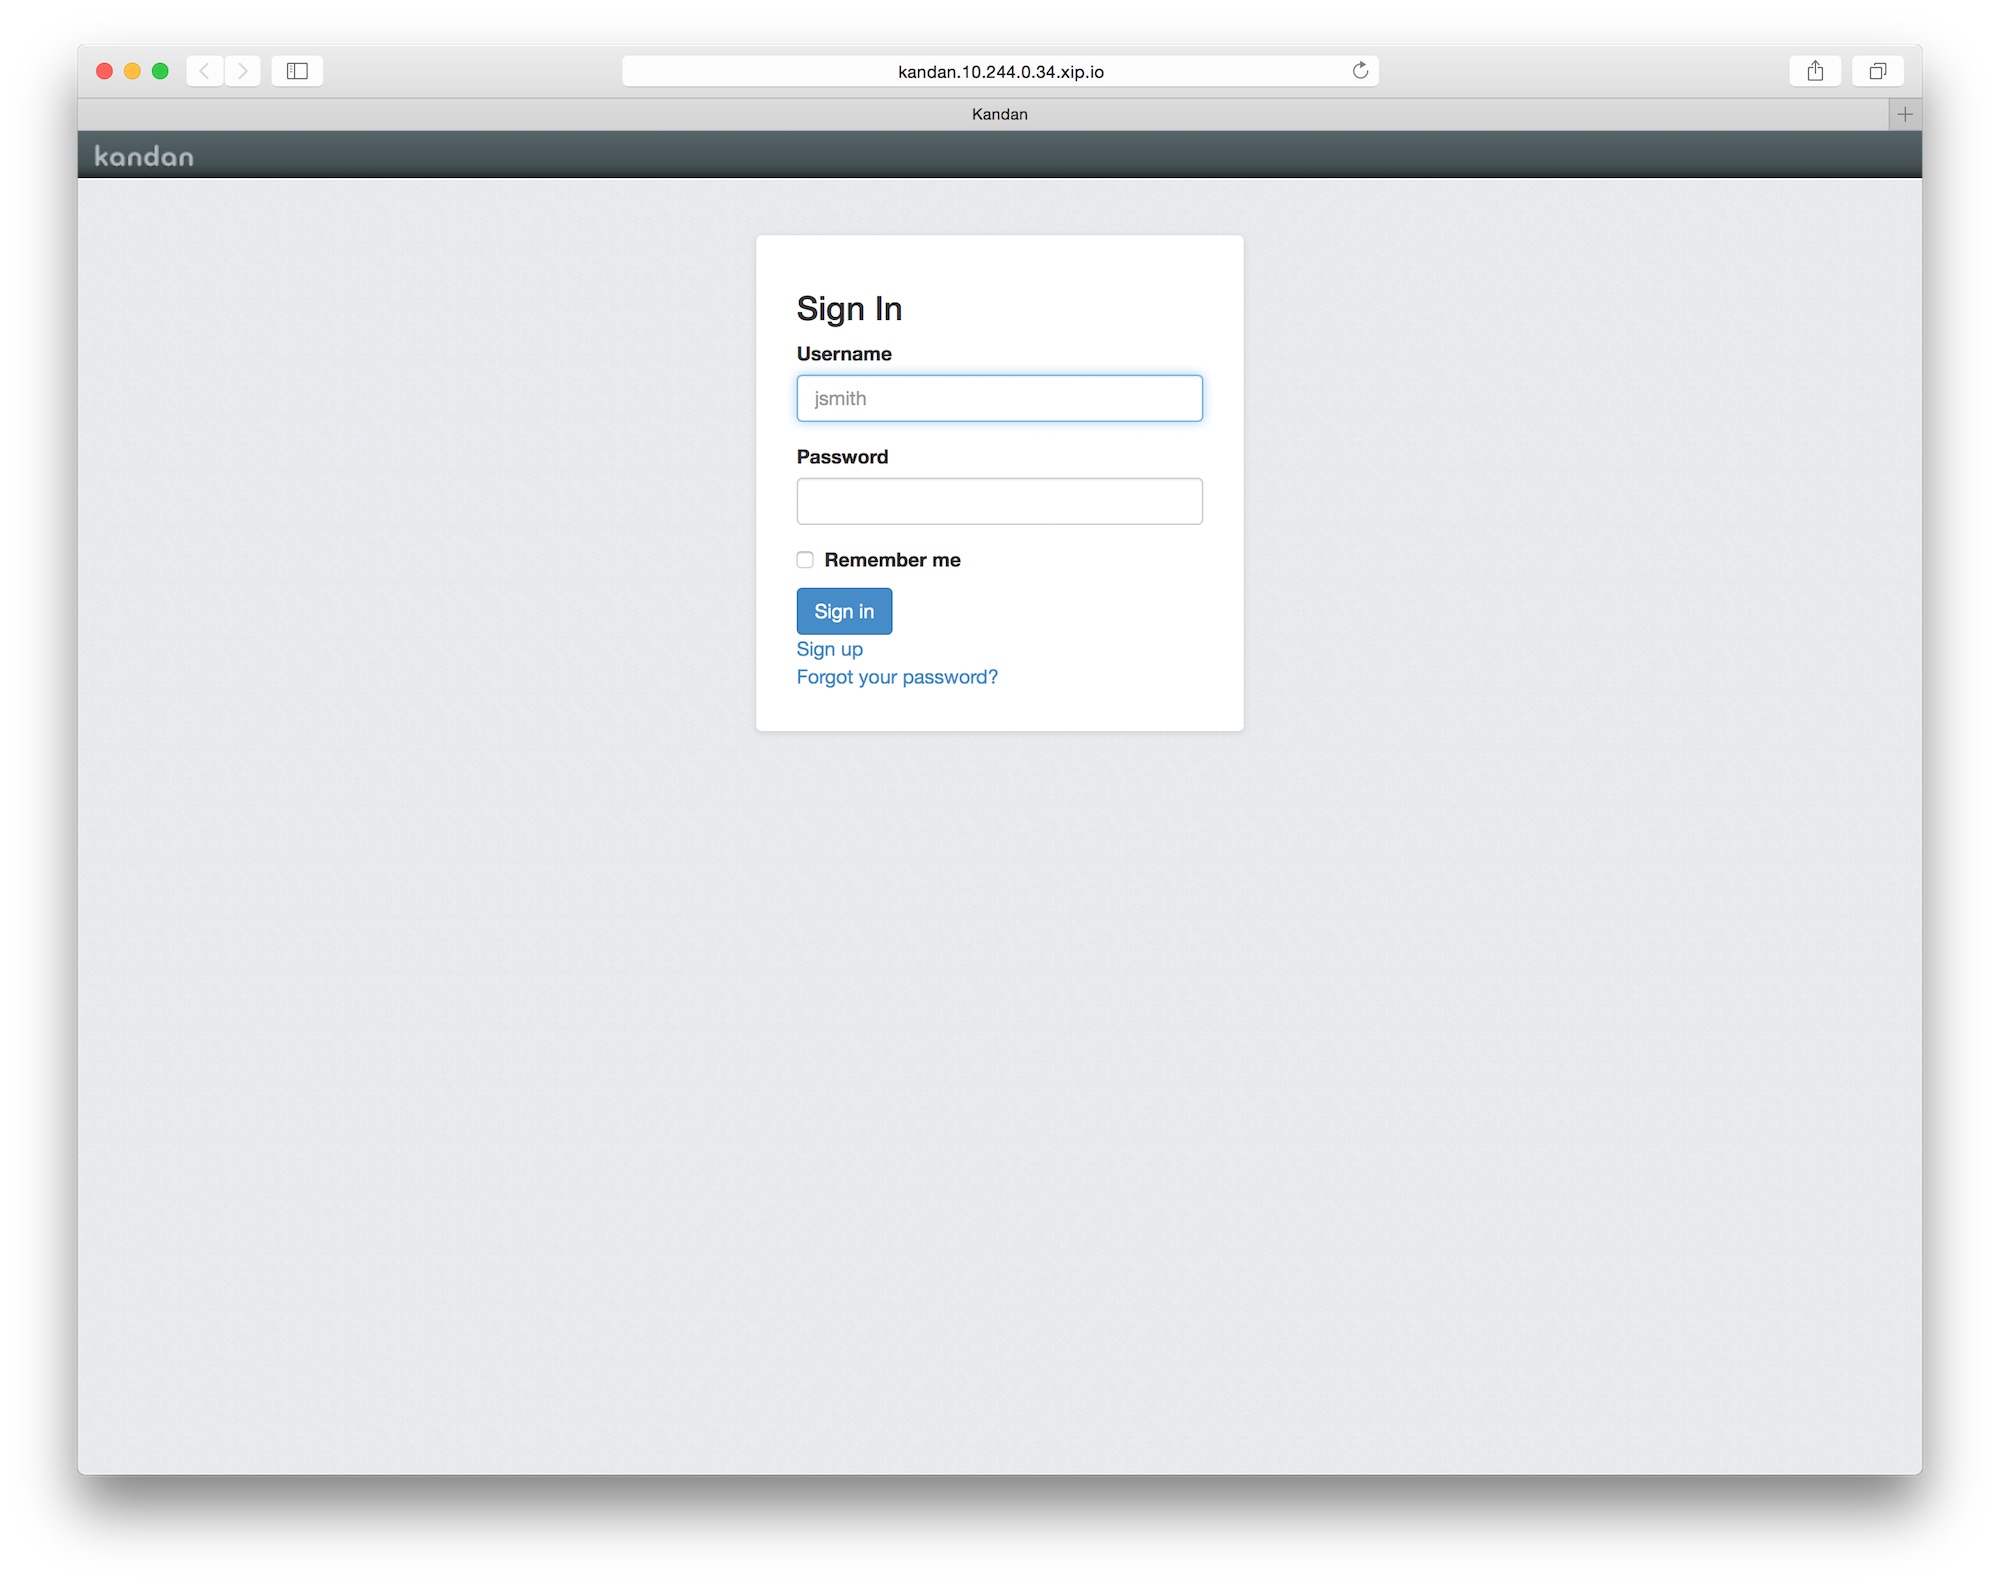
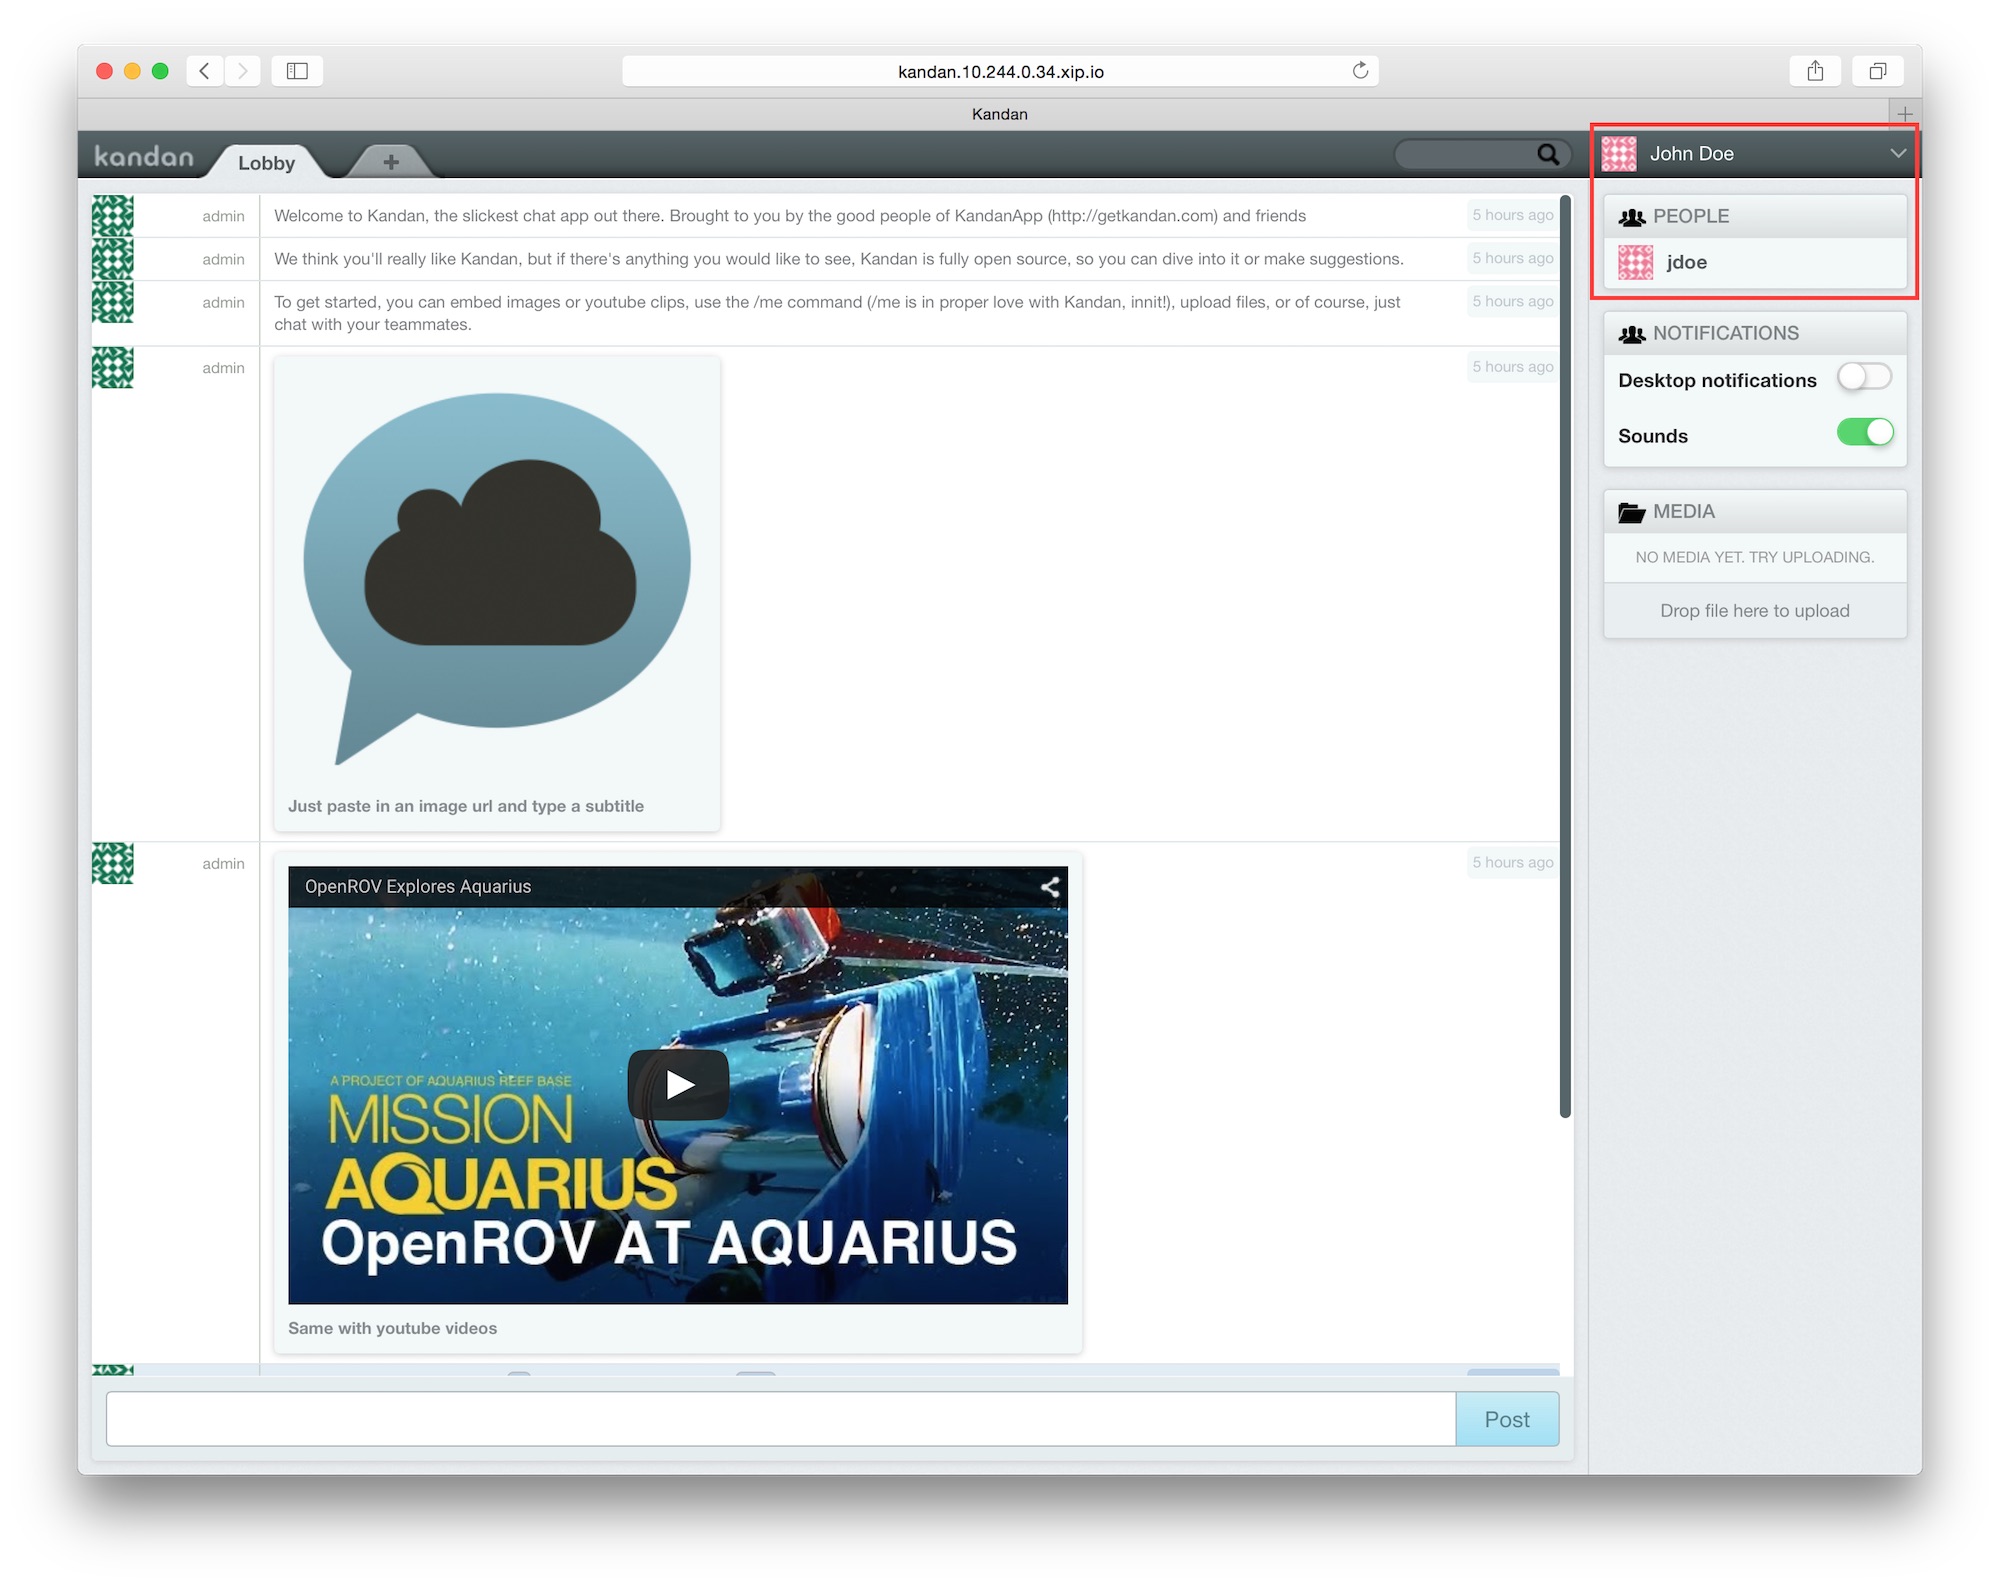
Initial Screen
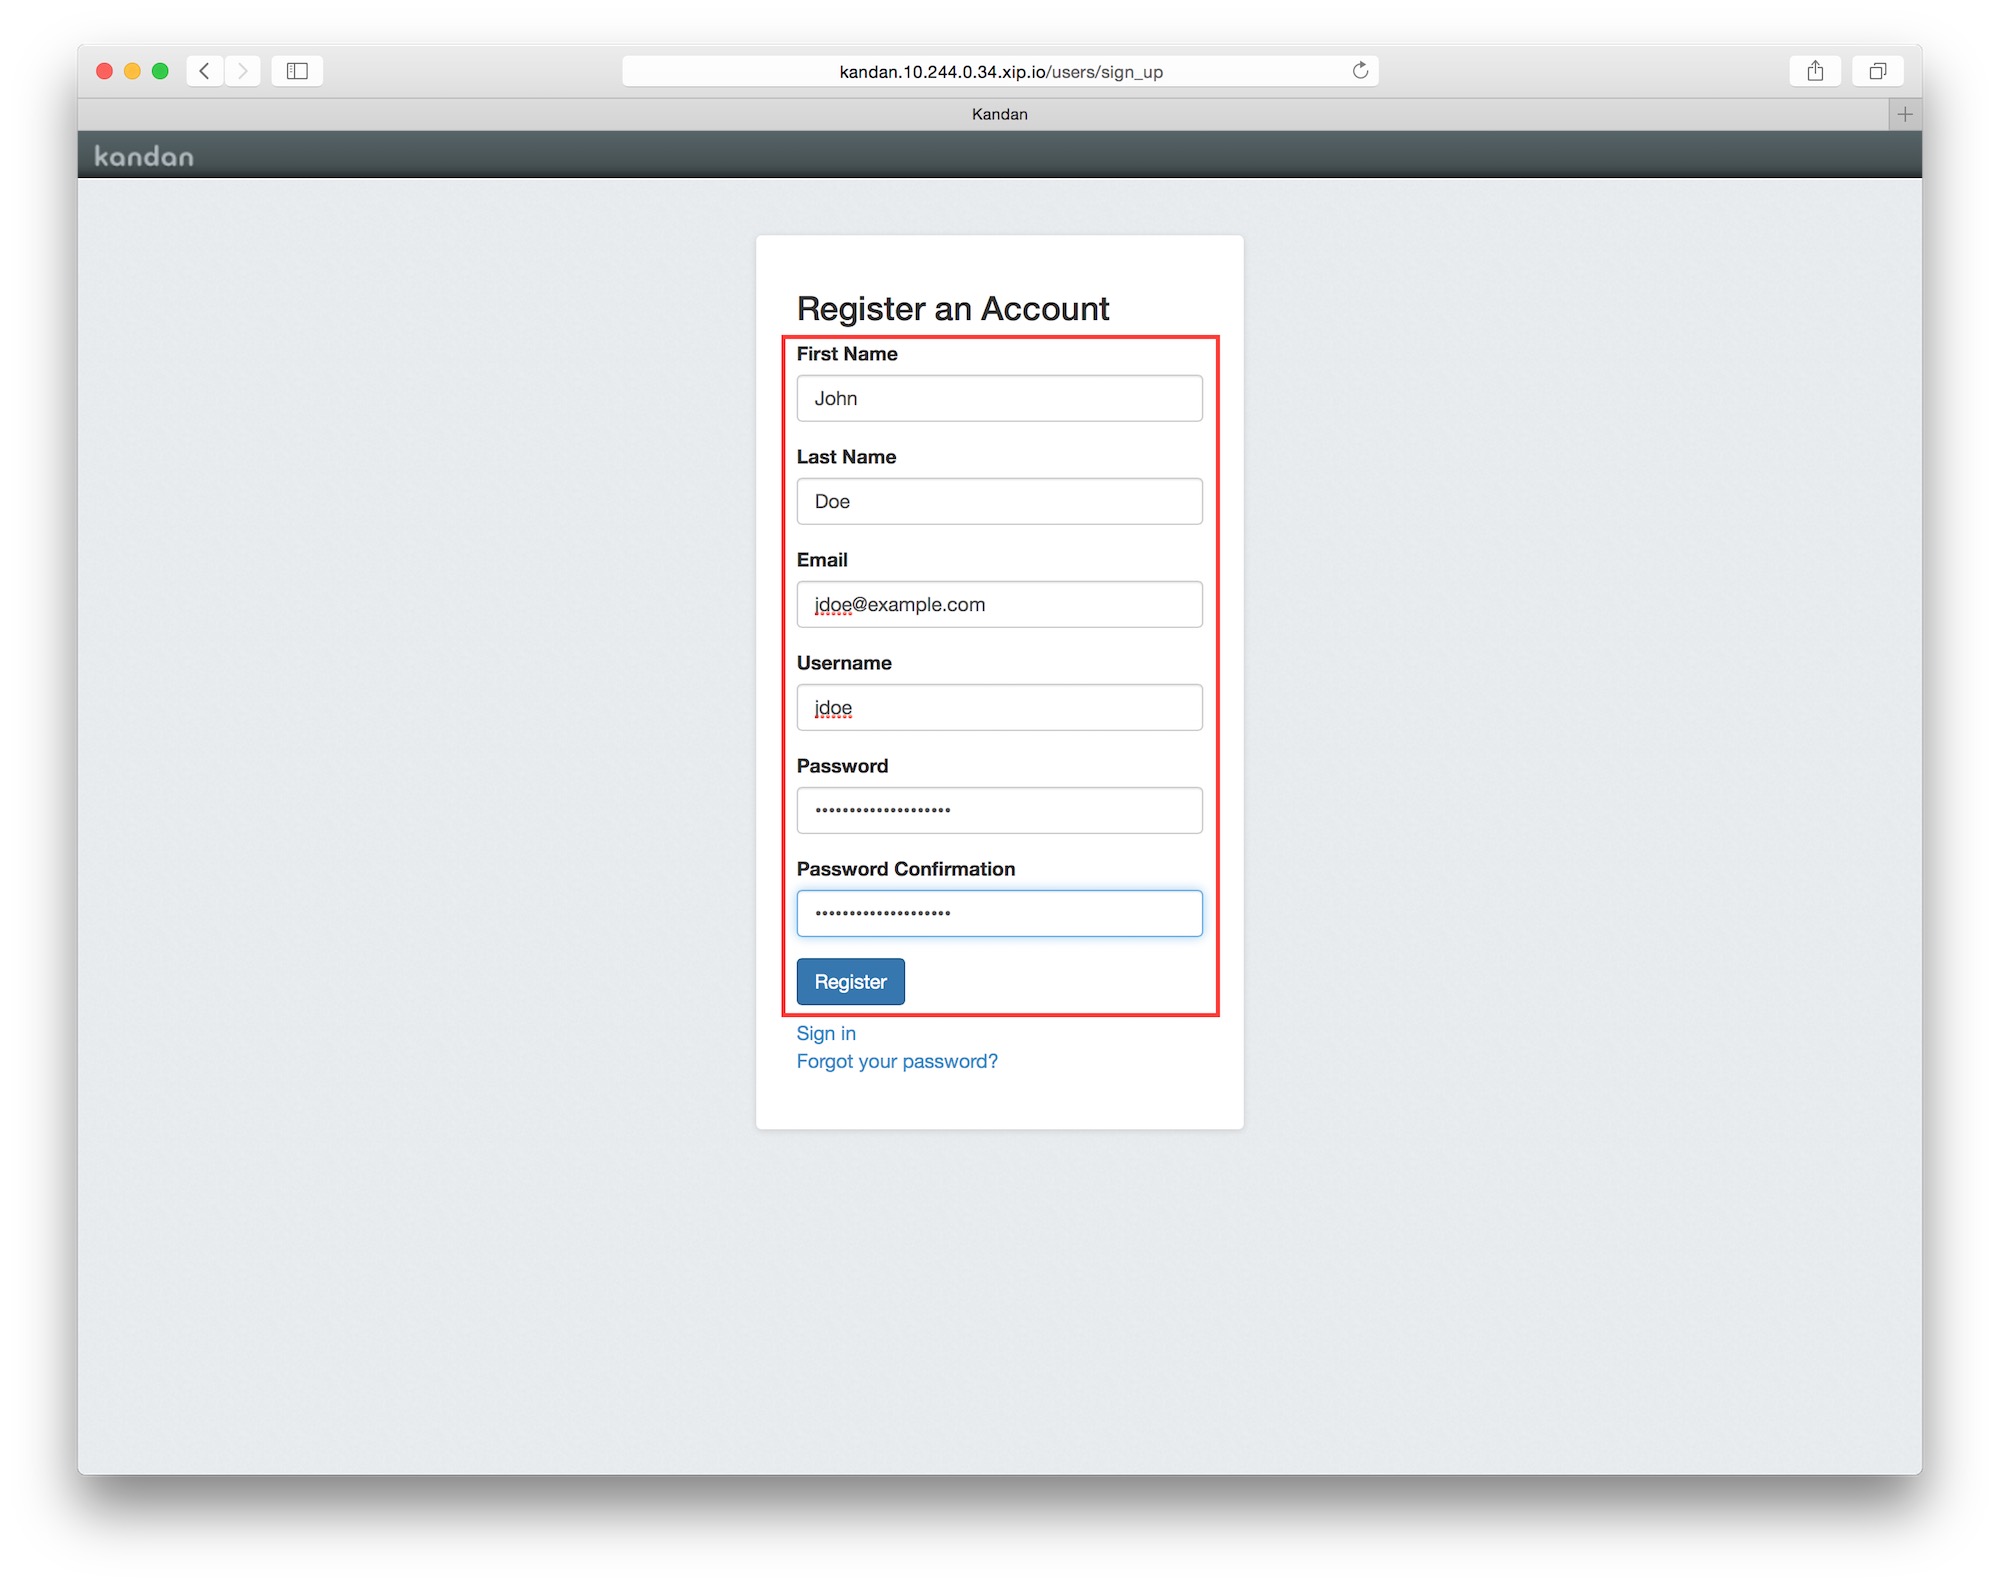
User Registration
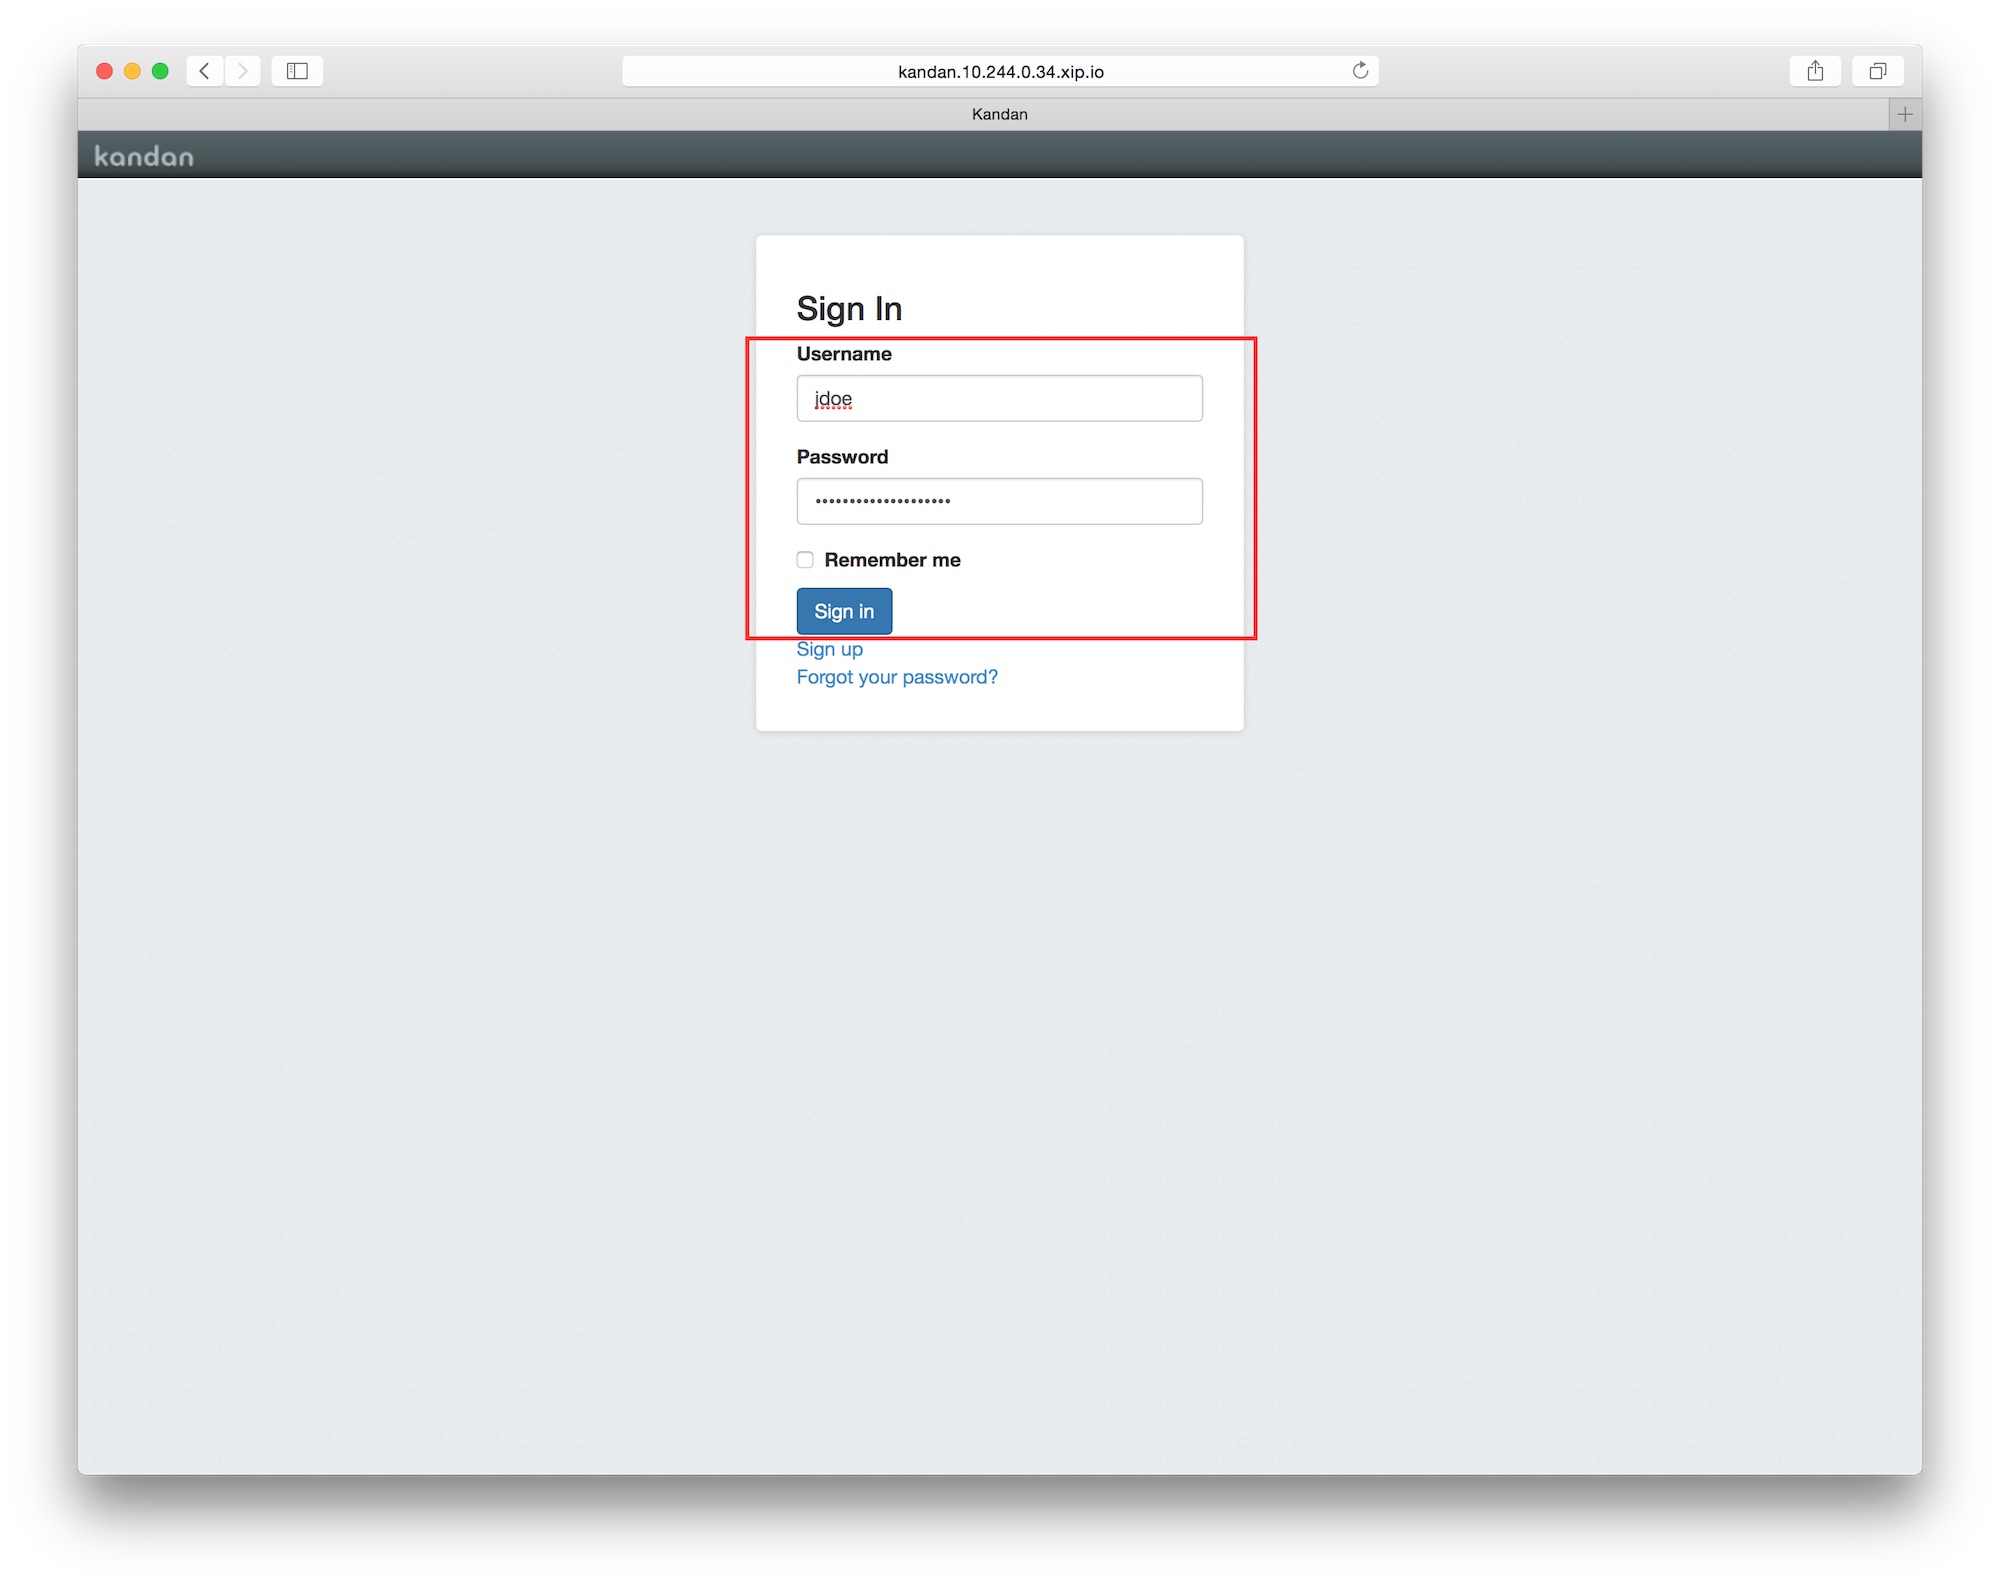
Logging in
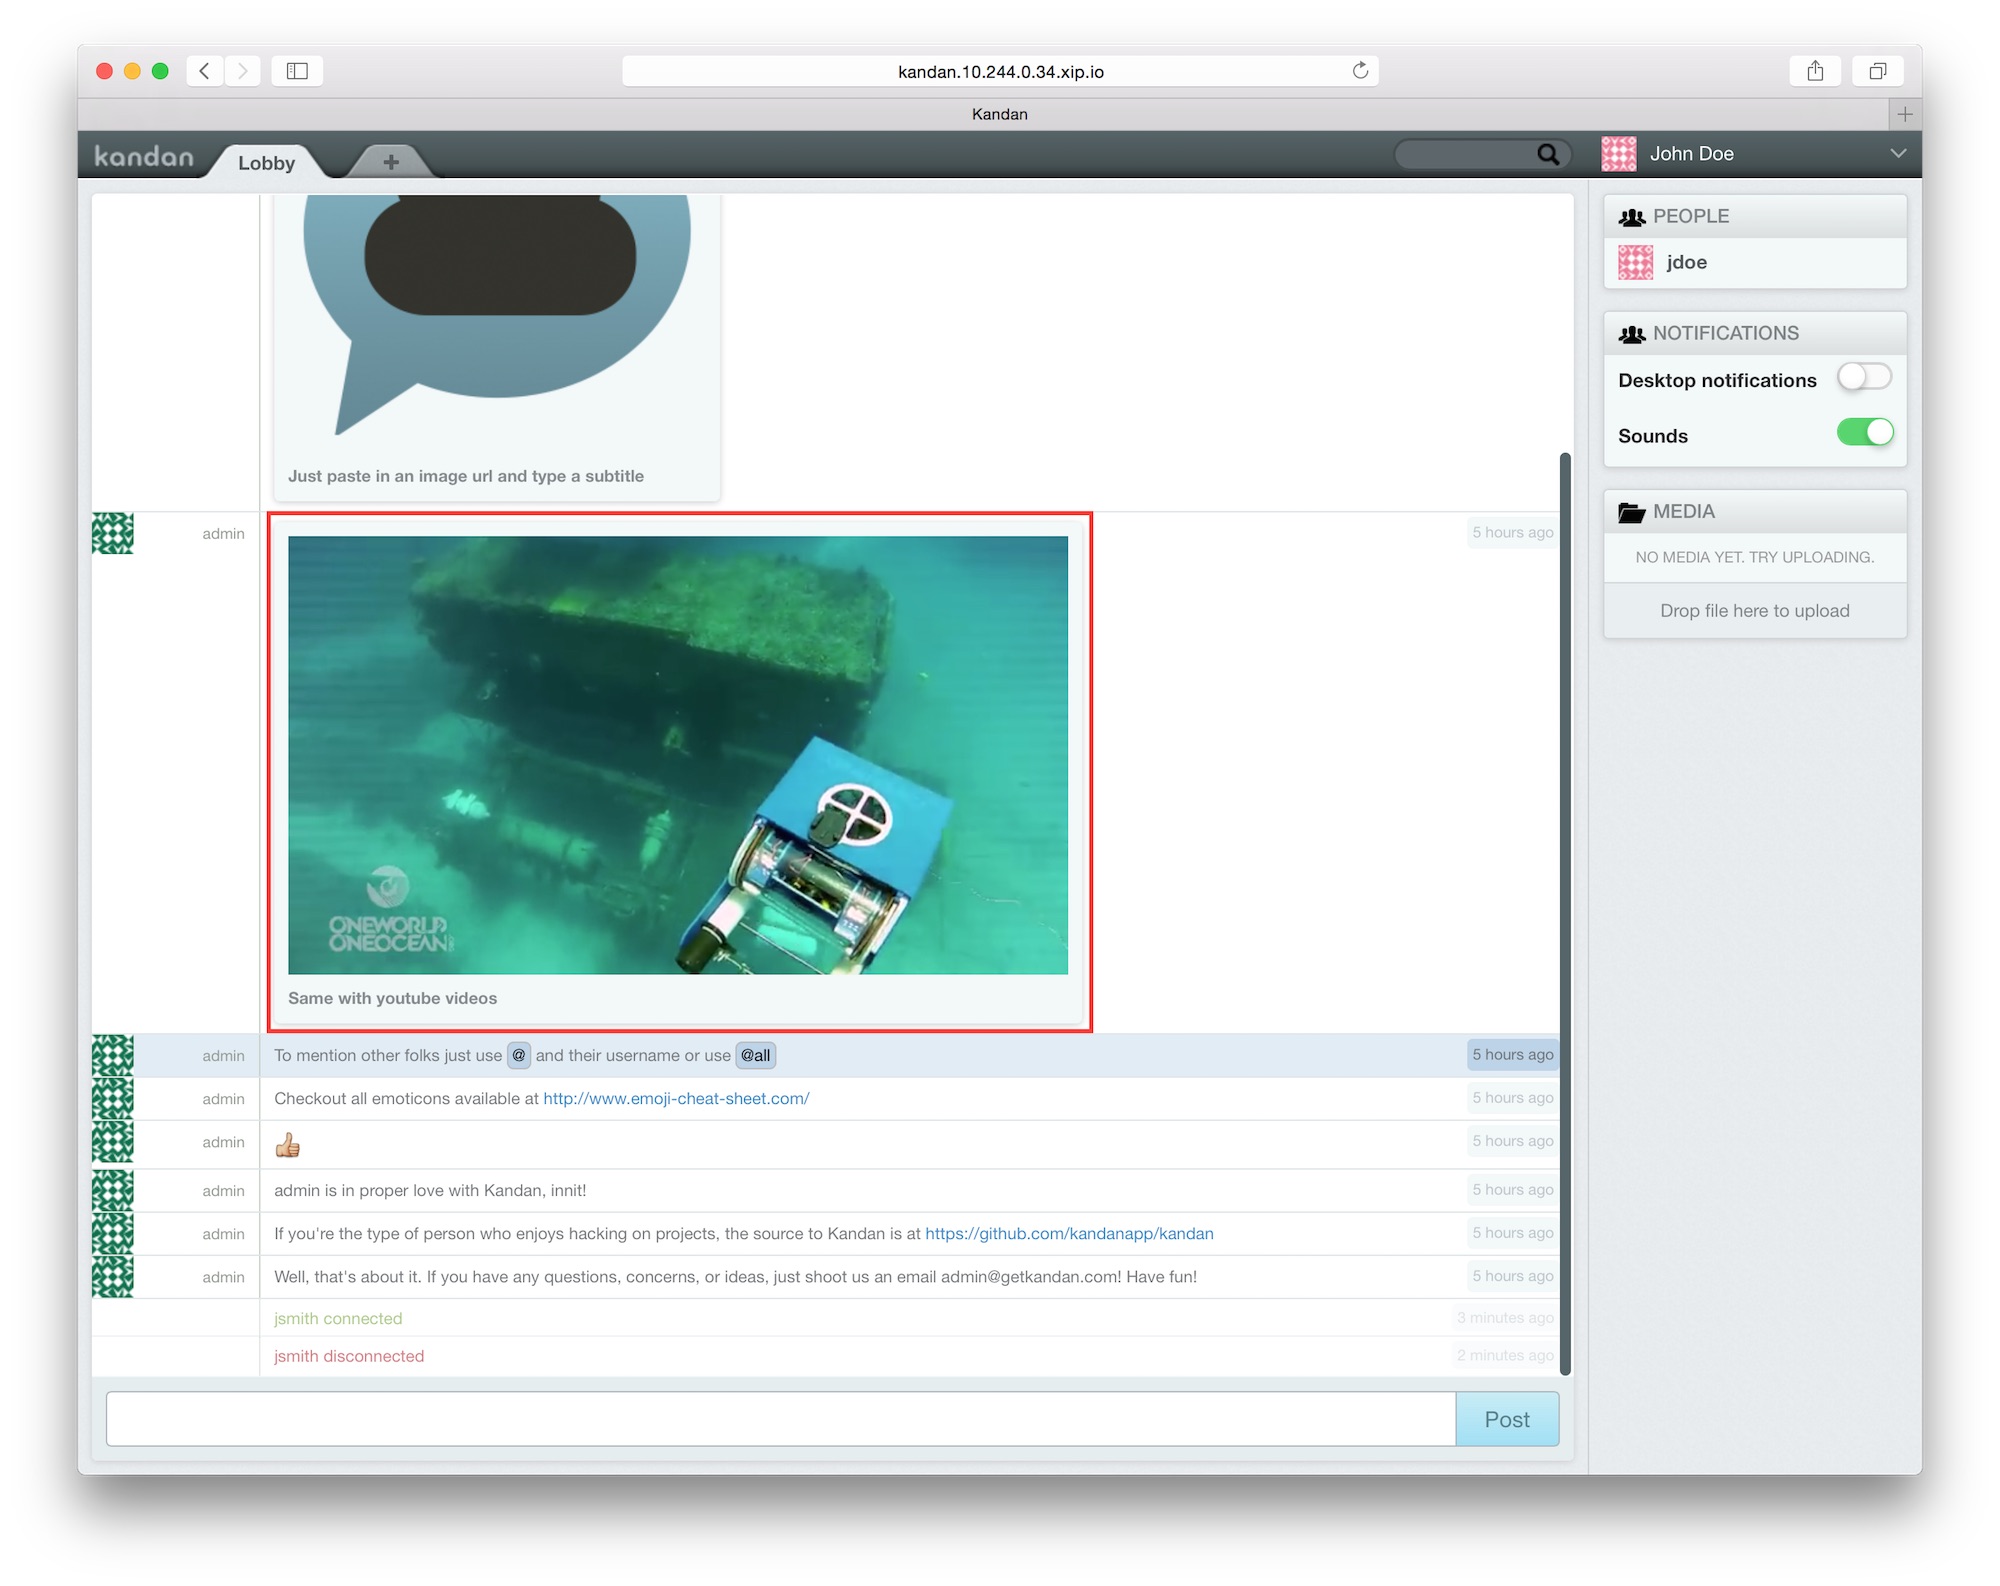
Playing Video
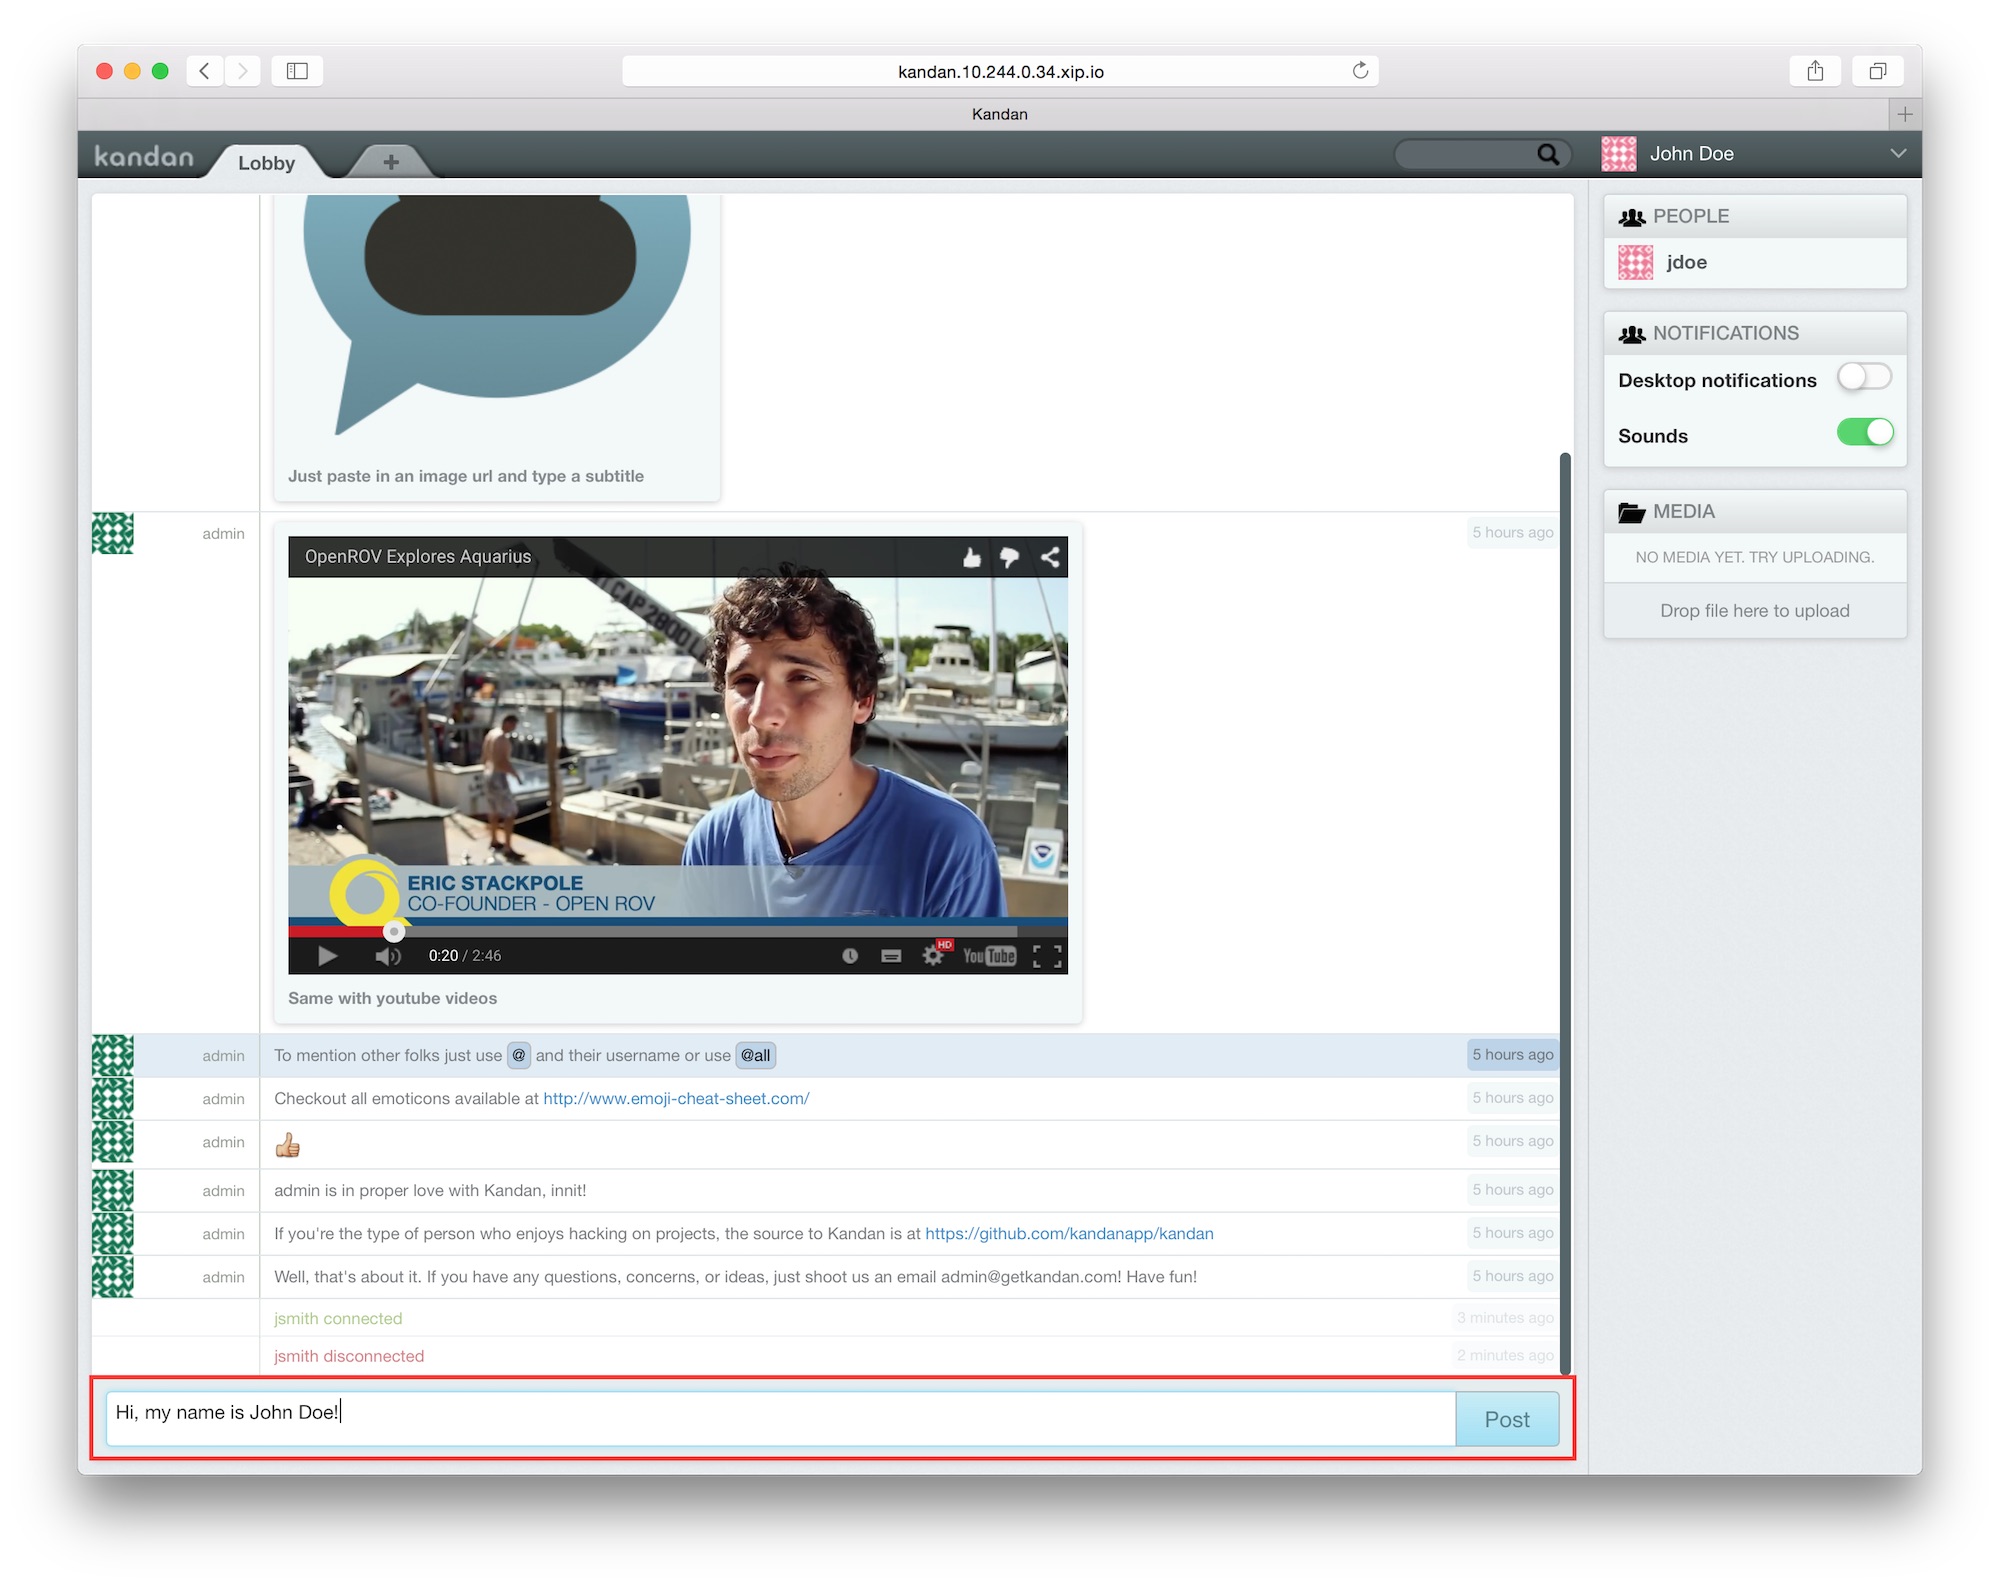
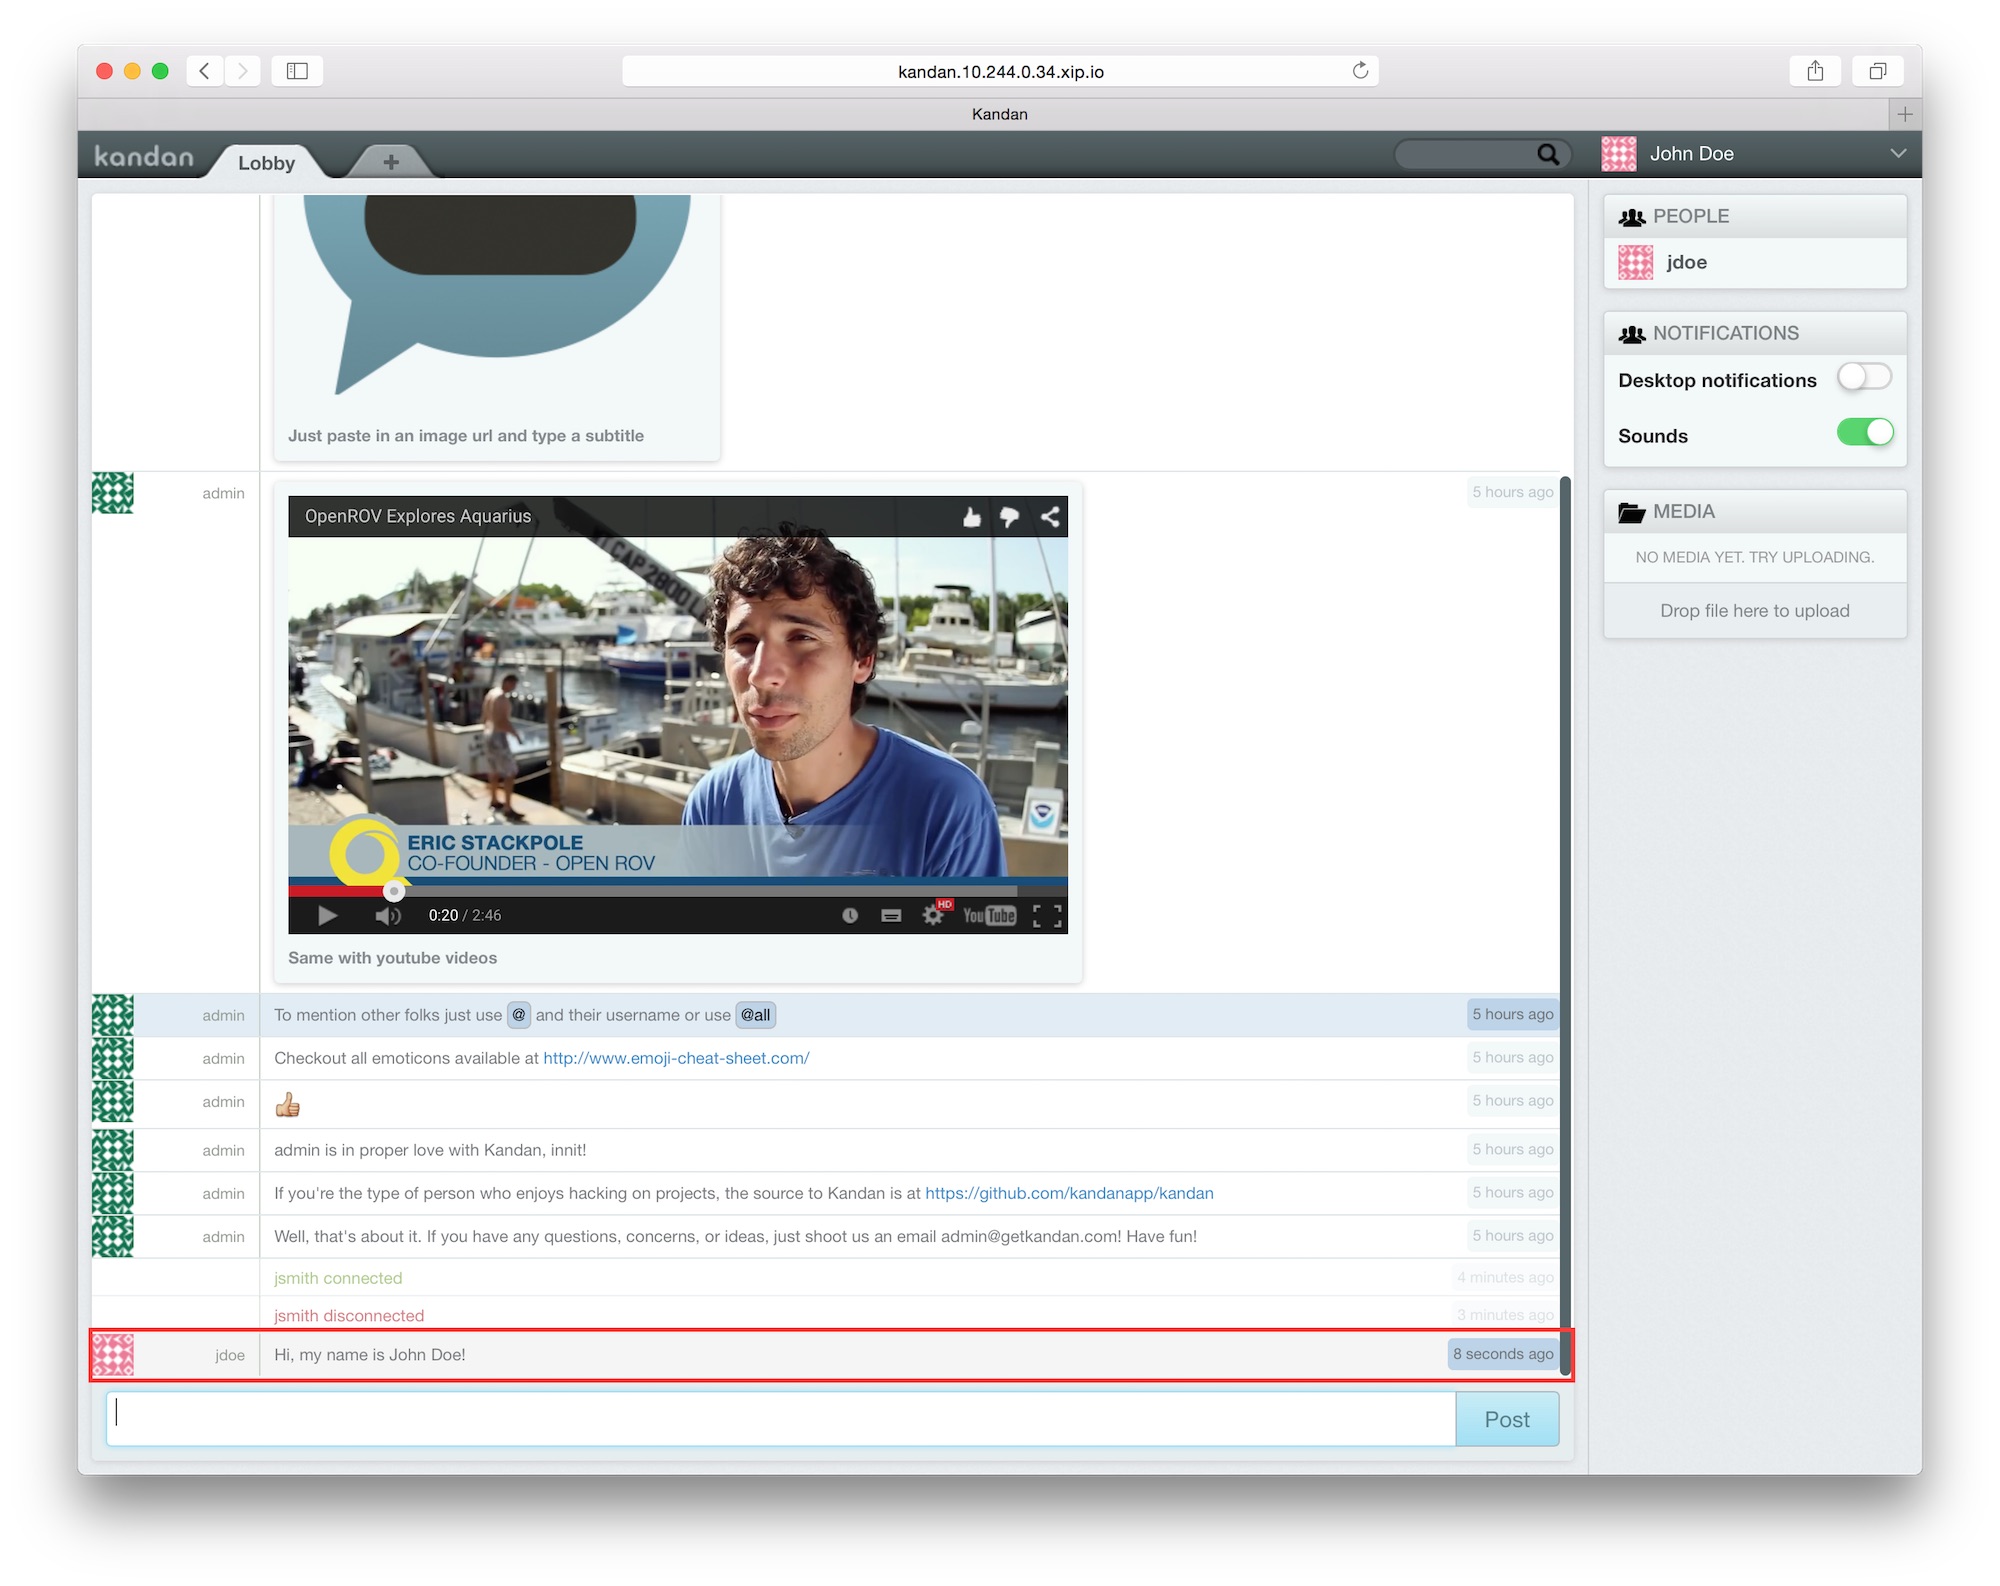
Posting a Message
Impression
We have deployed Kandan on Cloud Foundry and checked that it is operable.
As this application was originally considered to be deployed on PaaS such as Heroku, Cloud Foundry etc., we were able to deploy it with relative ease. On the other hand, we came across two common problems that occur when running existing applications on Cloud Foundry (the service related set up and the assignment of listening port), so I believe that this application was an appropriate choice for our first article.
Going forward, as a general rule, we plan to pick up one application a day (excluding weekends and holidays) like we did here. 100 applications will take us approximately five months, but we hope you stay tuned with us.
The Environment Used in this Post
- cf-release (v194)
https://github.com/cloudfoundry/cf-release/tree/v194
( https://github.com/cloudfoundry/cf-release/tree/345a8b3e1ea0005a3e9fced13f0bf6fa6f7ad981 ) - bosh-lite
https://github.com/cloudfoundry/bosh-lite/tree/01db9da7b4122f7d02858d92e0fe938e91256649 - CF CLI (v6.11.3-cebadc9-2015-05-20T19:00:58+00:00)
https://github.com/cloudfoundry/cli/releases/tag/v6.11.3 - postgresql-cf-service-broker
https://github.com/cloudfoundry-community/postgresql-cf-service-broker/tree/2e550a065374ffab1a999657c3dabdaa312aa61b - Docker Image
REPOSITORY=postgres, TAG=9.4.2, ID=1636d90f0662


![How is Using a Platform like Making a Pie? [Reblog]](https://www.cloudfoundry.org/wp-content/uploads/2017/03/pie-platform-300x204.jpg)